Steps to integrate
In this section, I will guide you step by step to integrate us with your store on VTEX.
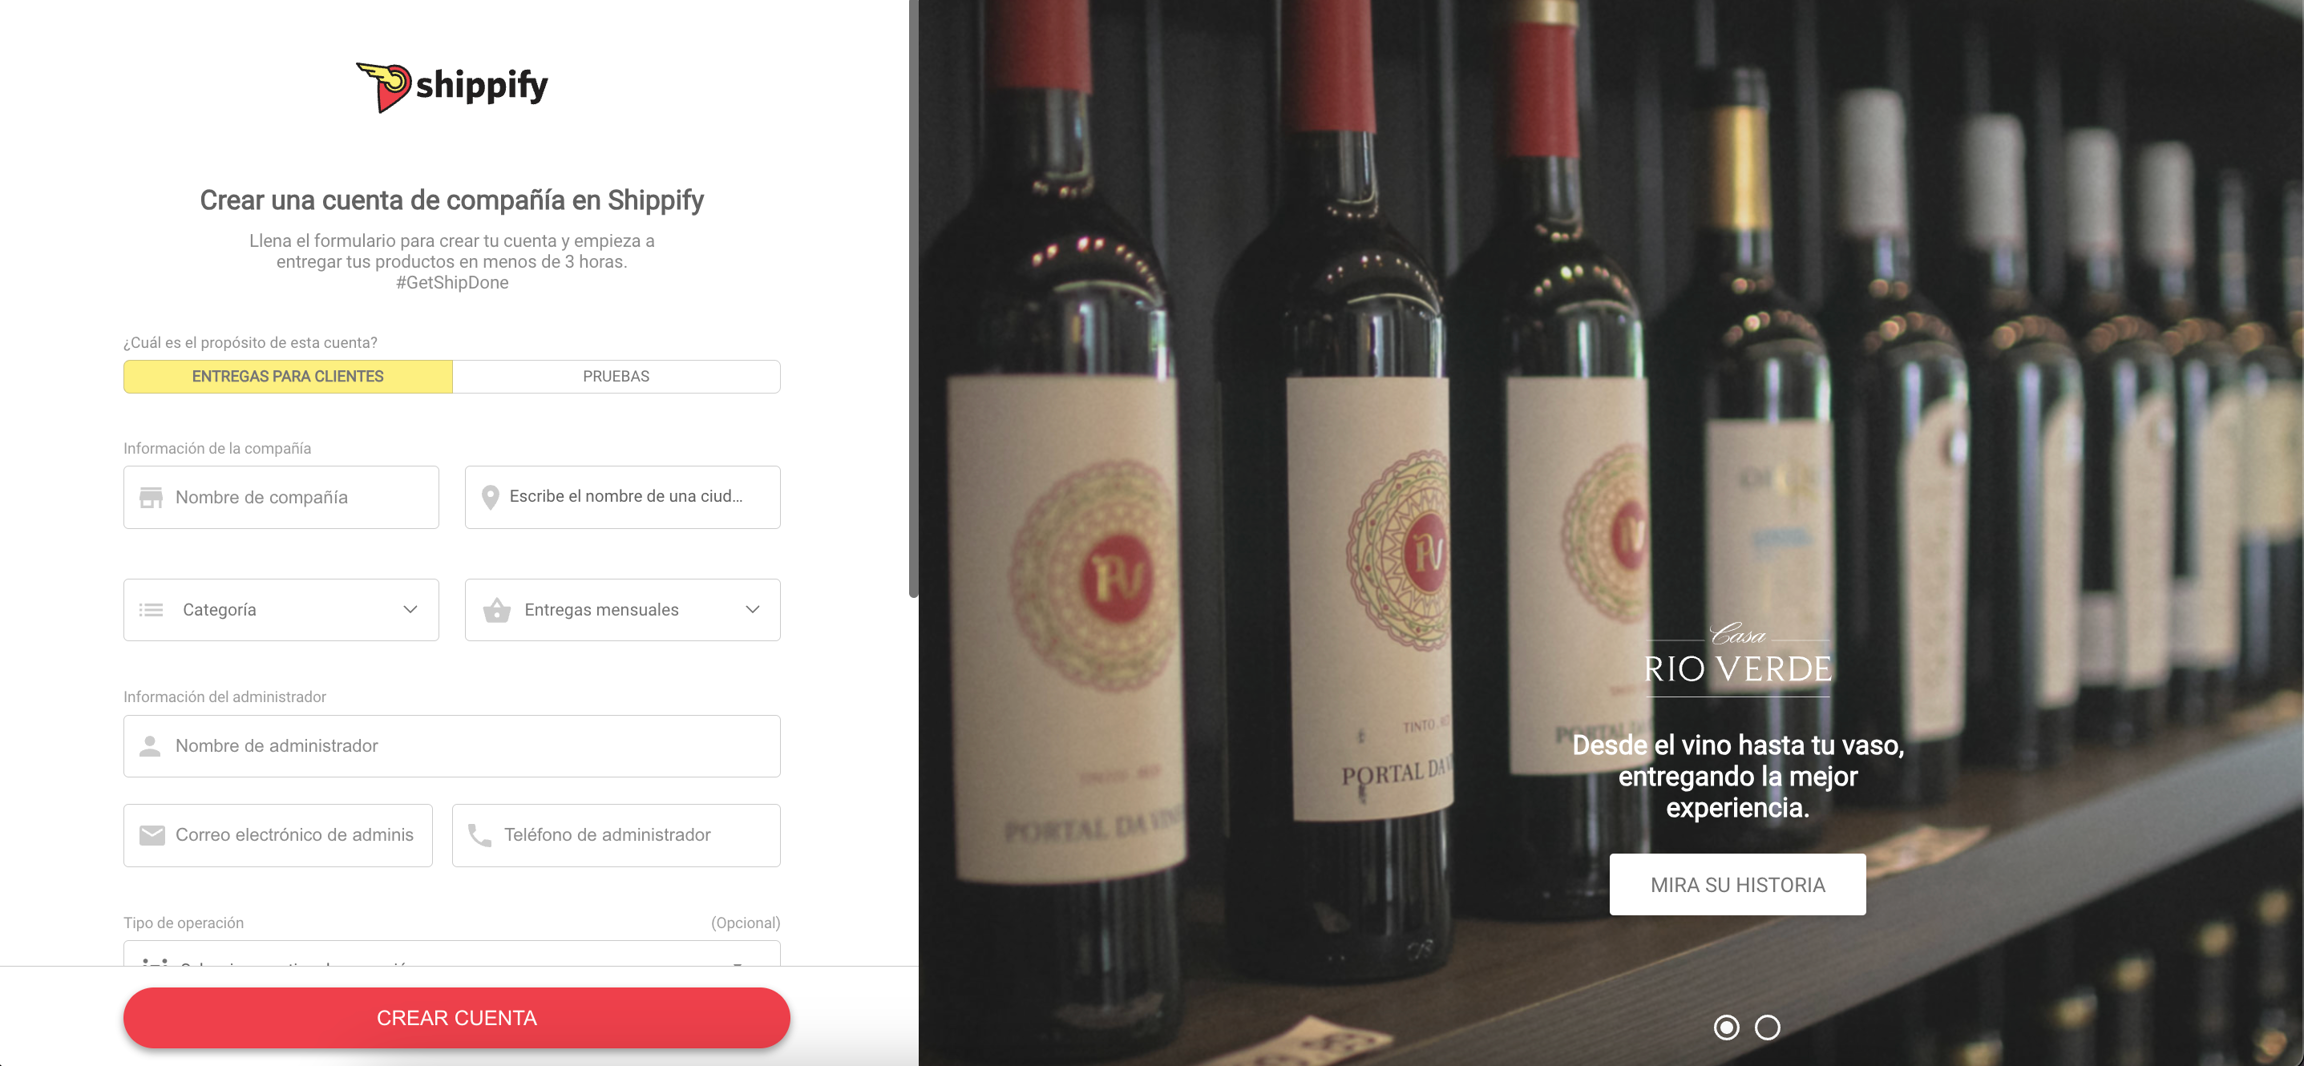
 Creating a Shippify account
 Creating a Shippify account
If you already have an account registered, you can proceed to the next step.
Creating an account on our platform is free of charge. You can go to this link and fill in your company's information, and you're all set.
Once you've done that, you'll receive an email with more information (If not, please contact us through the chat on our website).
All Shippify accounts are created with Prepaid mode, meaning that to create your deliveries, you'll need to purchase credits in the Billing section (payment with a credit card or transfer). If you need commercial support, you can write to us through our website.

 Warehouse Creation
 Warehouse Creation
 Deliveries created in the system will always have a warehouse as a collection point, which you must create by entering this link. You must fill in all the requested data and save the identifier to use in the next step.

 Setup in Shippify
 Setup in Shippify
The next step is to configure the integration with your VTEX account. To do this, you have to access the settings section in the dash and here select VTEX as the creation method and proceed to fill in the requested data.

Store Name: This is the name that appears in the URL of your store in VTEX. Read more.
Application Key and Application Token: Credentials of your Vtex account with which we can interact with your account, to generate them you can read this article.
Delivery Type: This is the type of delivery that will be created within Shippify.
Storage: In this field you can search for the warehouse you created in step 2.
Statuses: In this list you can include the statuses which you want VTEX to be notified of when they occur.
 Configuration in VTEX
 Configuration in VTEX
You will now be able to head over to your Shipping Strategies dashboard and notice that a Shippify policy has been created.

You will need to edit the policy and attach the file where you define the rates and zipcodes to finish its configuration and change its processing status to Active. You can access this page for more information on how to generate this file.

In this same section you can edit different settings such as the pickup and delivery times that will come by default among others. You can find more information on this page.
Once active, you can attach it to the Dock of your choice, if you don't have one you can create it by following these steps.
Now you will be able to see the option in the checkout!
Última actualización