Steps to integrate
In this section, we'll guide you step by step to successfully integrate with your Shopify store.
 Create a Shippify account
 Create a Shippify account
If you already have a registered account, you can proceed to the next step.
Creating an account on our platform is free of charge. You can go to this link and fill in your company's information, and you're all set.
Once you've done that, you'll receive an email with more information (If not, please contact us through the chat on our website).
All Shippify accounts are created with a prepaid model, meaning you need to purchase credits in the Billing section to create your deliveries (payment with credit card or transfer). If you need commercial support, you can write to us through our website.

 Install the OrkestraOS application on your Shopify store.
 Install the OrkestraOS application on your Shopify store.
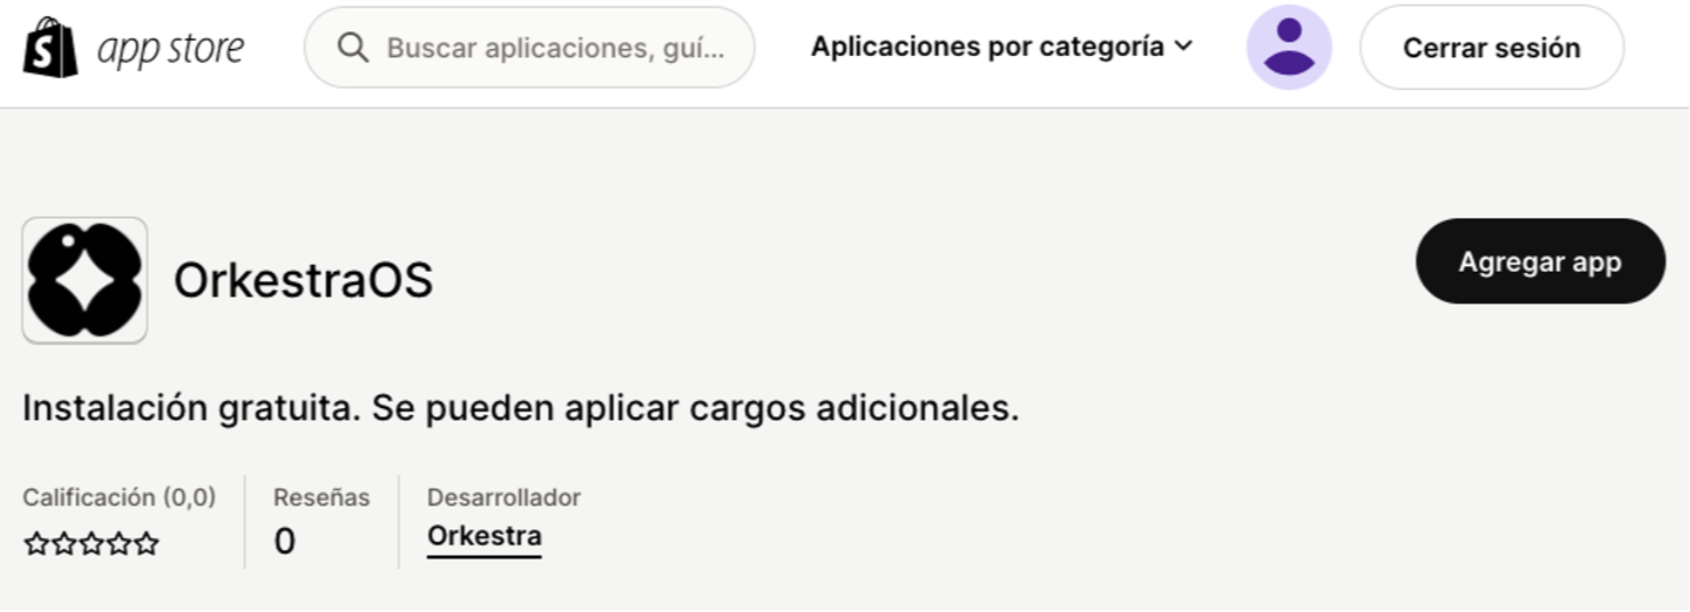
To install the application, you can use the following link: https://apps.shopify.com/orkestraos?locale=es
Once you've logged in by entering the URL of your store, click on 'Add app'.
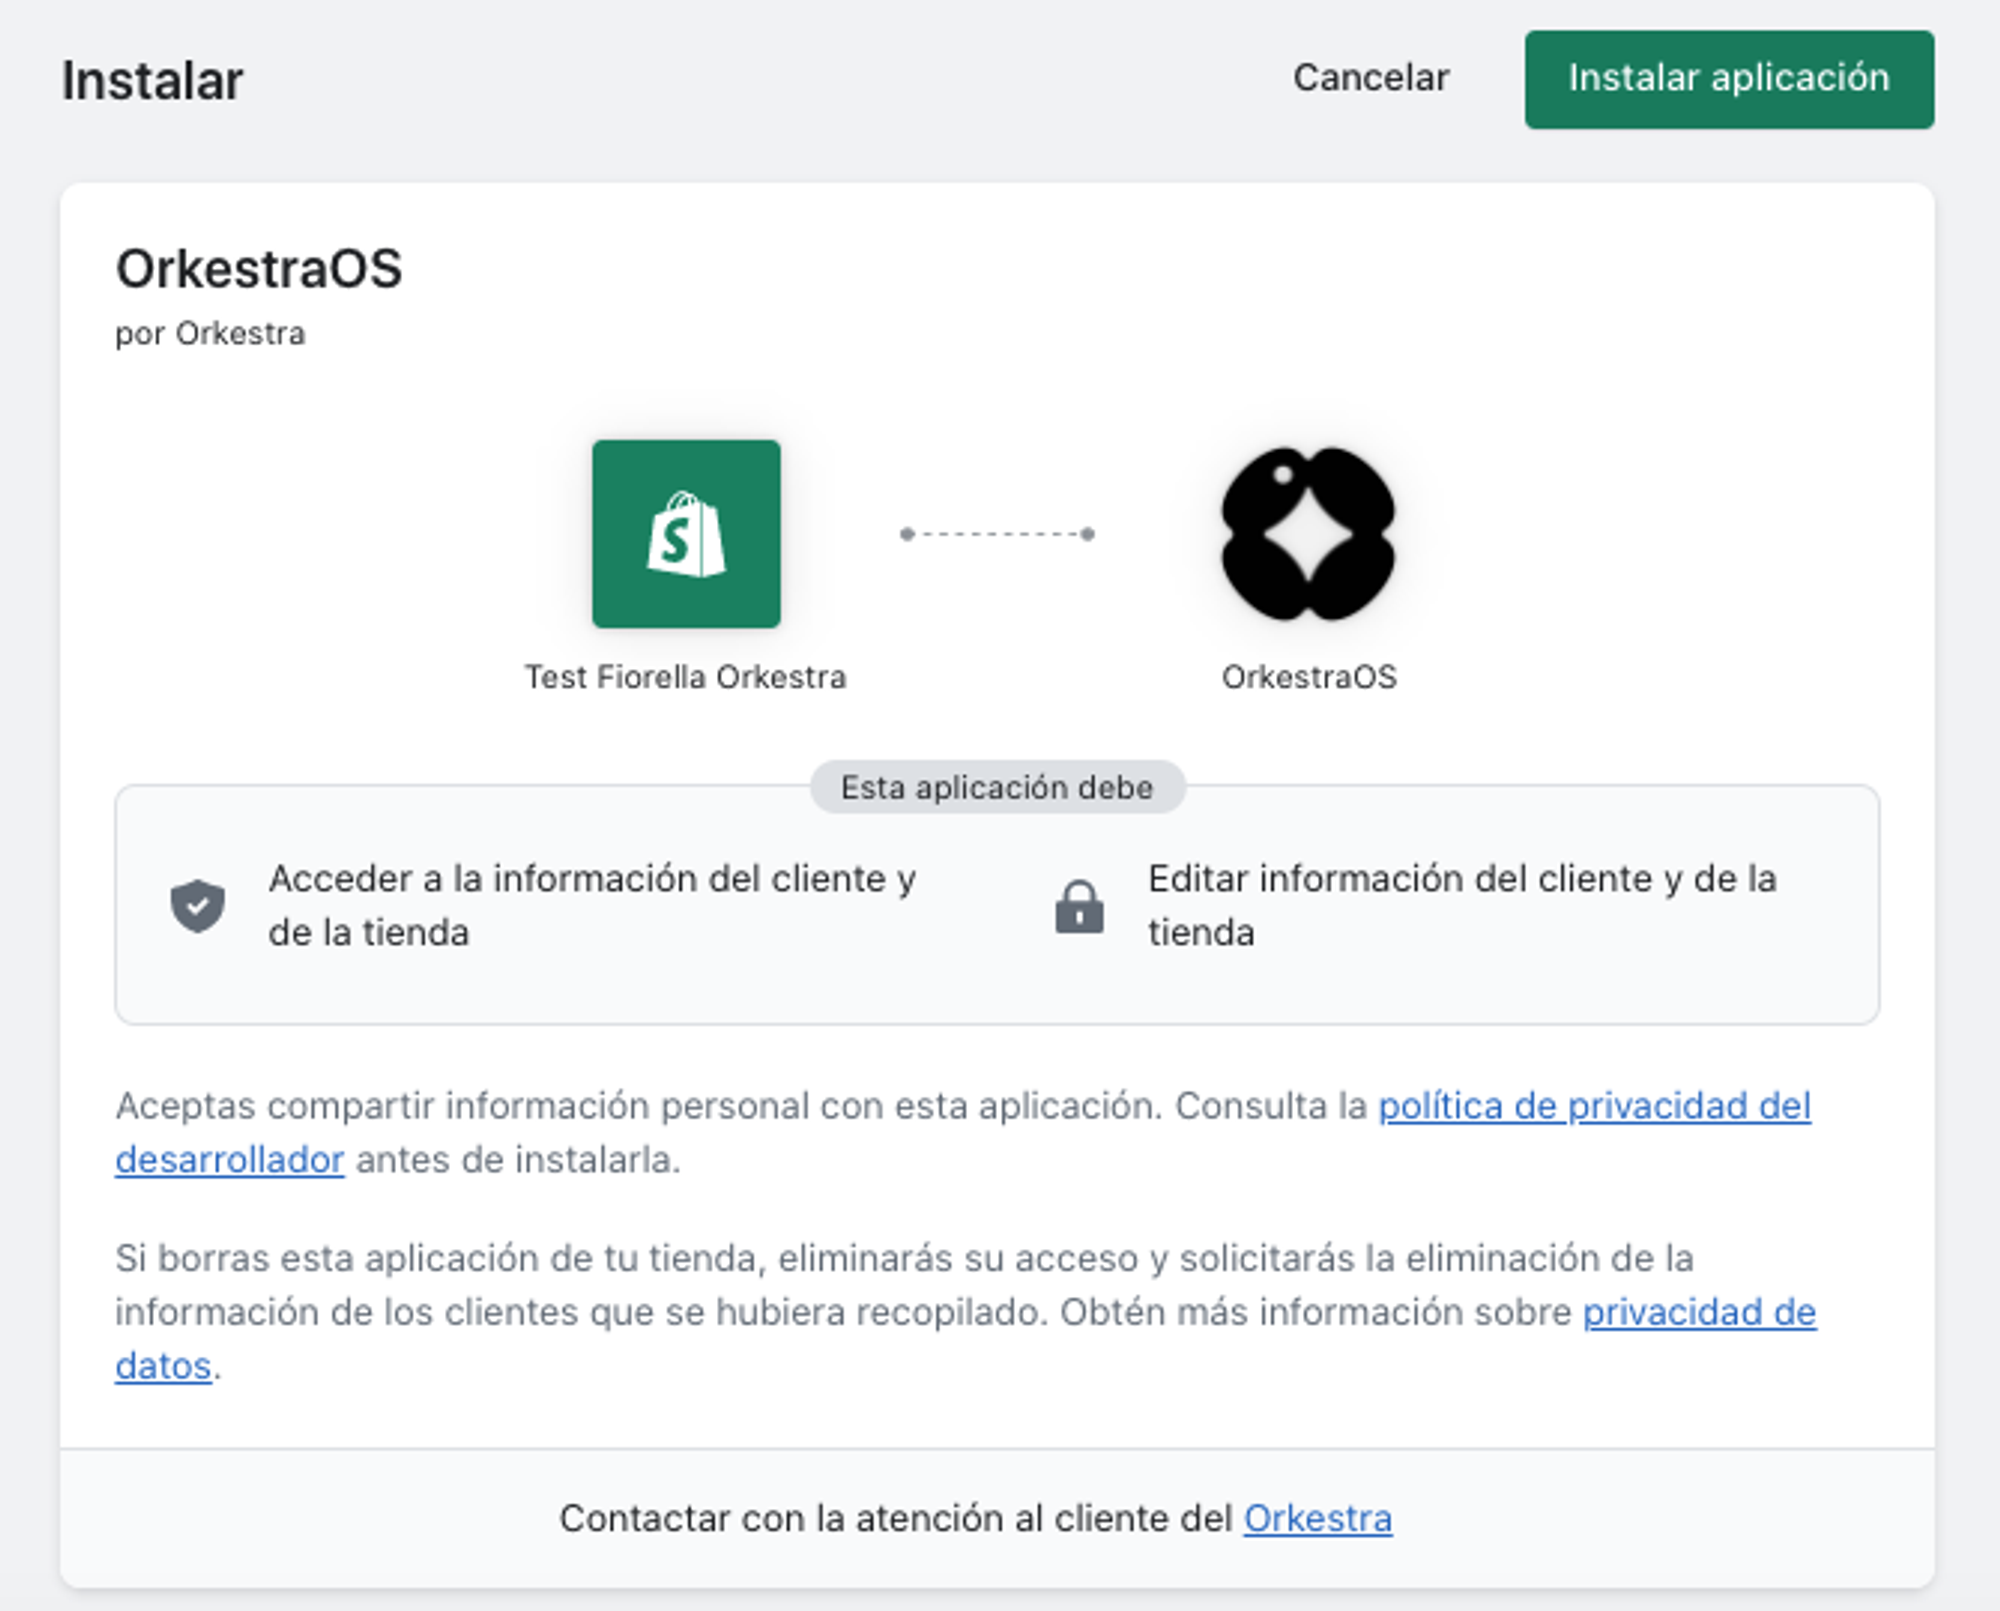
Then, Shopify will ask you to confirm the installation of the application on your store. Simply click on 'Install app', and you're all set.
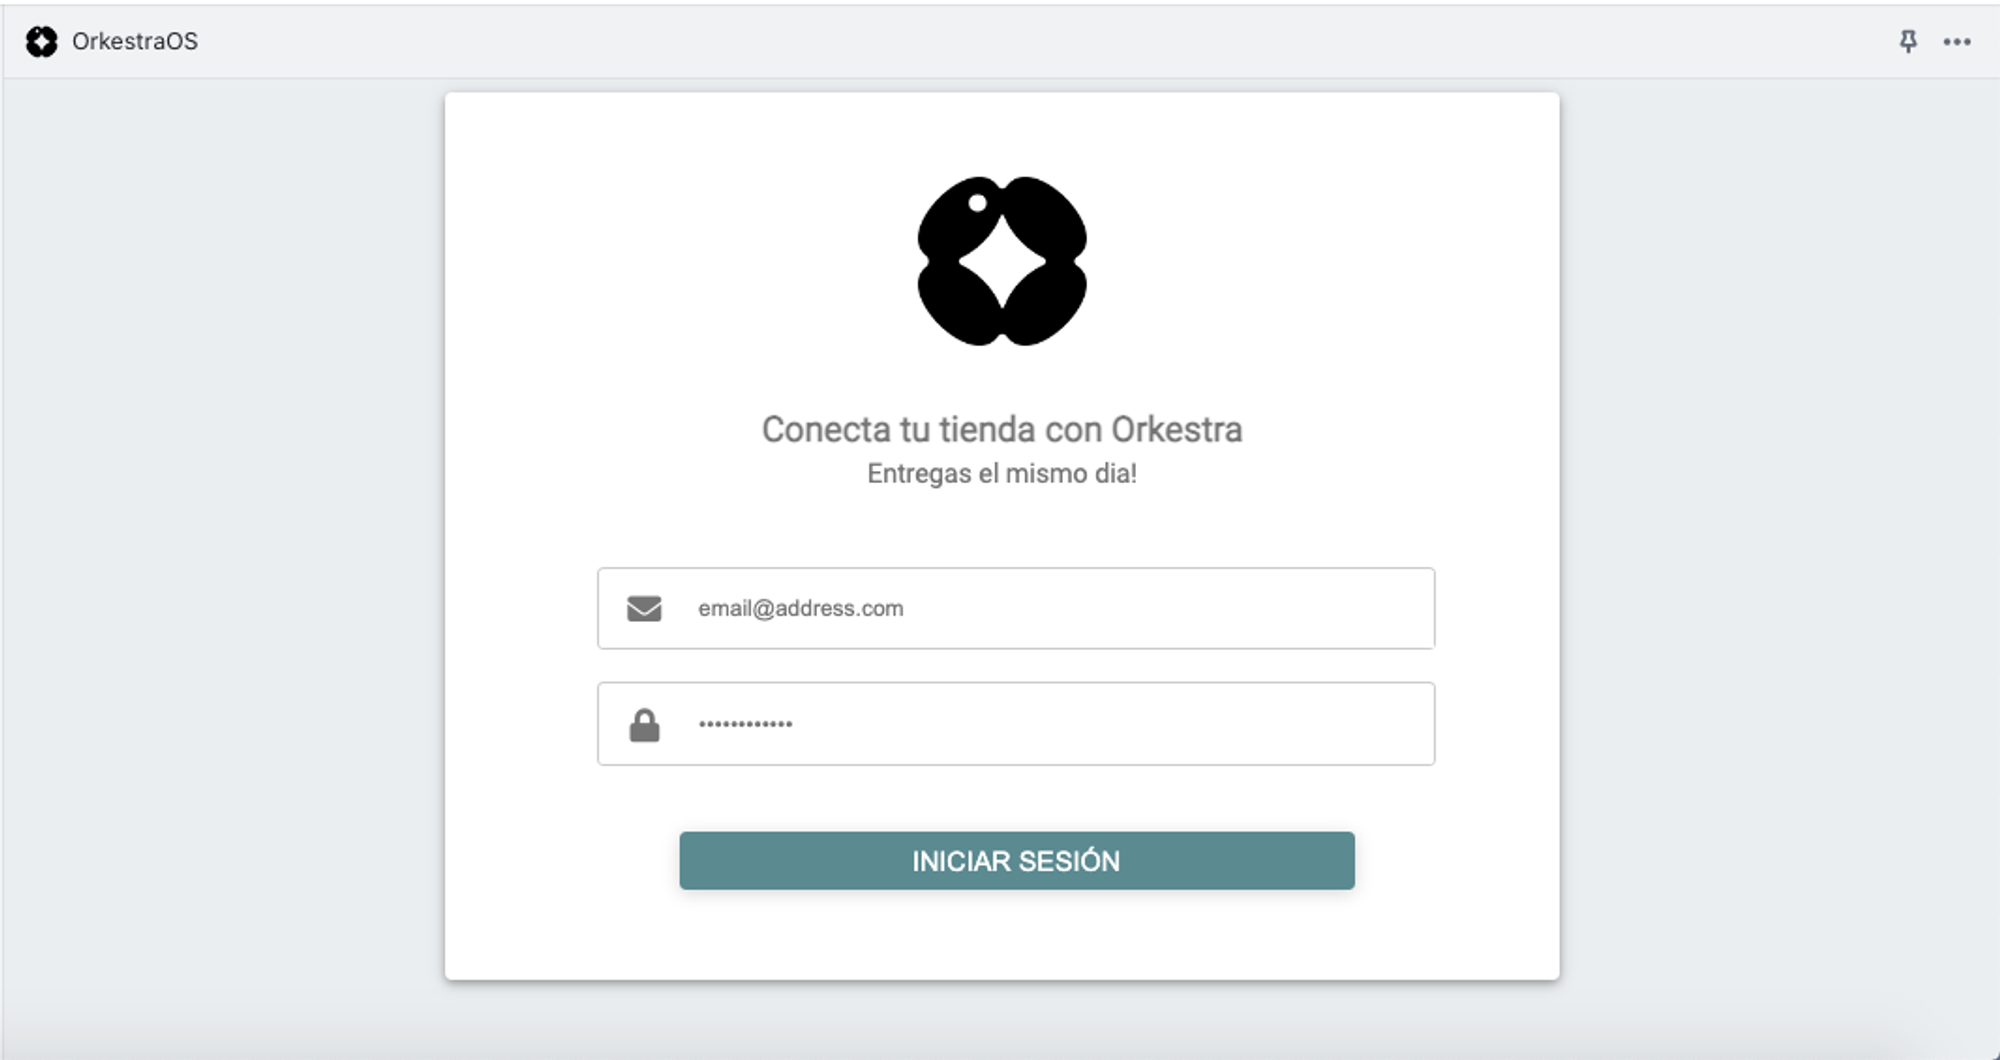
Now you just need to enter your Shippify credentials from your previously registered account.
 Configure it according to your needs.
 Configure it according to your needs.
Basic configuration
Once you enter the OrkestraOS application, the first thing it will ask you to configure is the default pickup warehouse. To do this, simply click on 'Configure warehouse'. The application will not allow you to monitor deliveries until you have configured the warehouse.
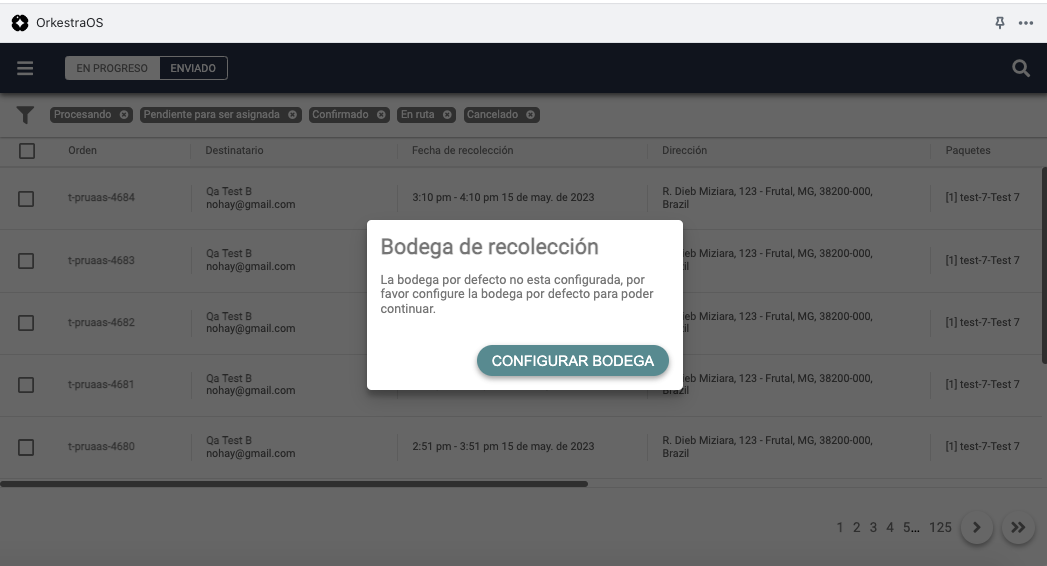
The application will take you to the Settings section where you'll have a series of instructions to start and you can define the basic operation of the application, which consists of the following:
Warehouse address for product pickup.
Delivery address using the fields from the form you have configured in the checkout of your store.
Additional address information using the same fields from the form you have configured in the checkout of your store.
Shipping and inventory options in the Back office.
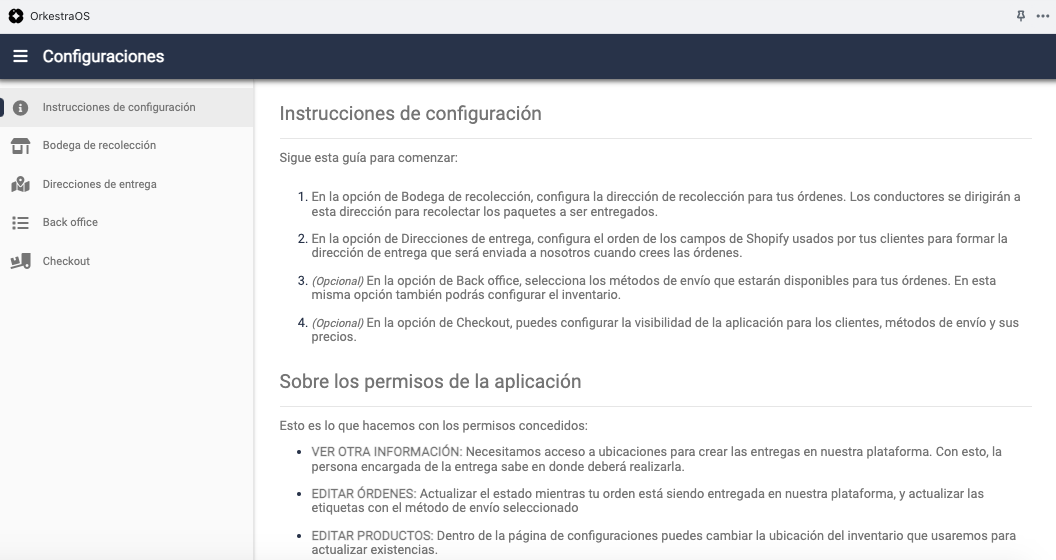
Warehouse address configuration
To define the pickup address, you need to select a warehouse that you already have saved in your Shippify account or create a new one.
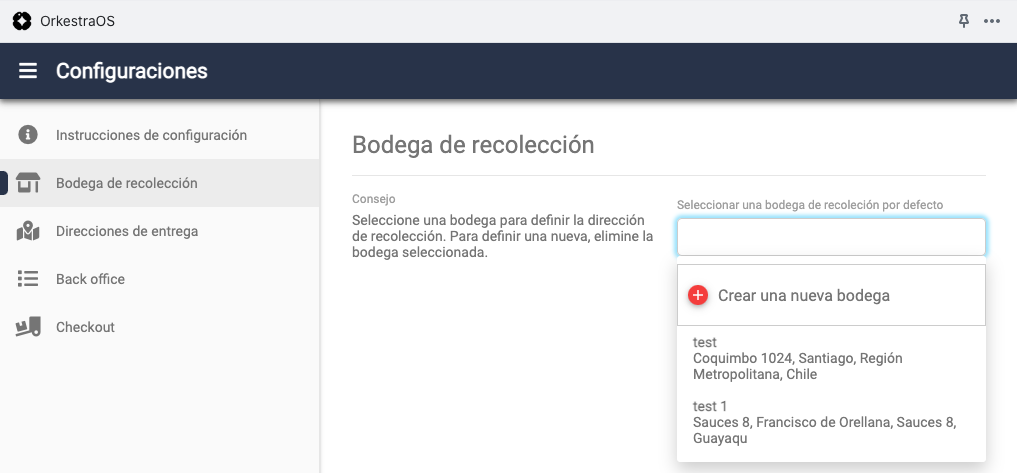
Delivery address configuration
Each Shopify store allows you to select the fields you consider necessary to present to the customer at checkout. Here is the list of available fields:
address1
address2
city
company
country
country_code
first_name
last_name
phone
province
province_code
zip
Each company can use these fields as they wish to obtain information, changing the translation of the field in the checkout. An example of this is that some companies use the city field to obtain the district or neighborhood or use the zip field to obtain the phone.
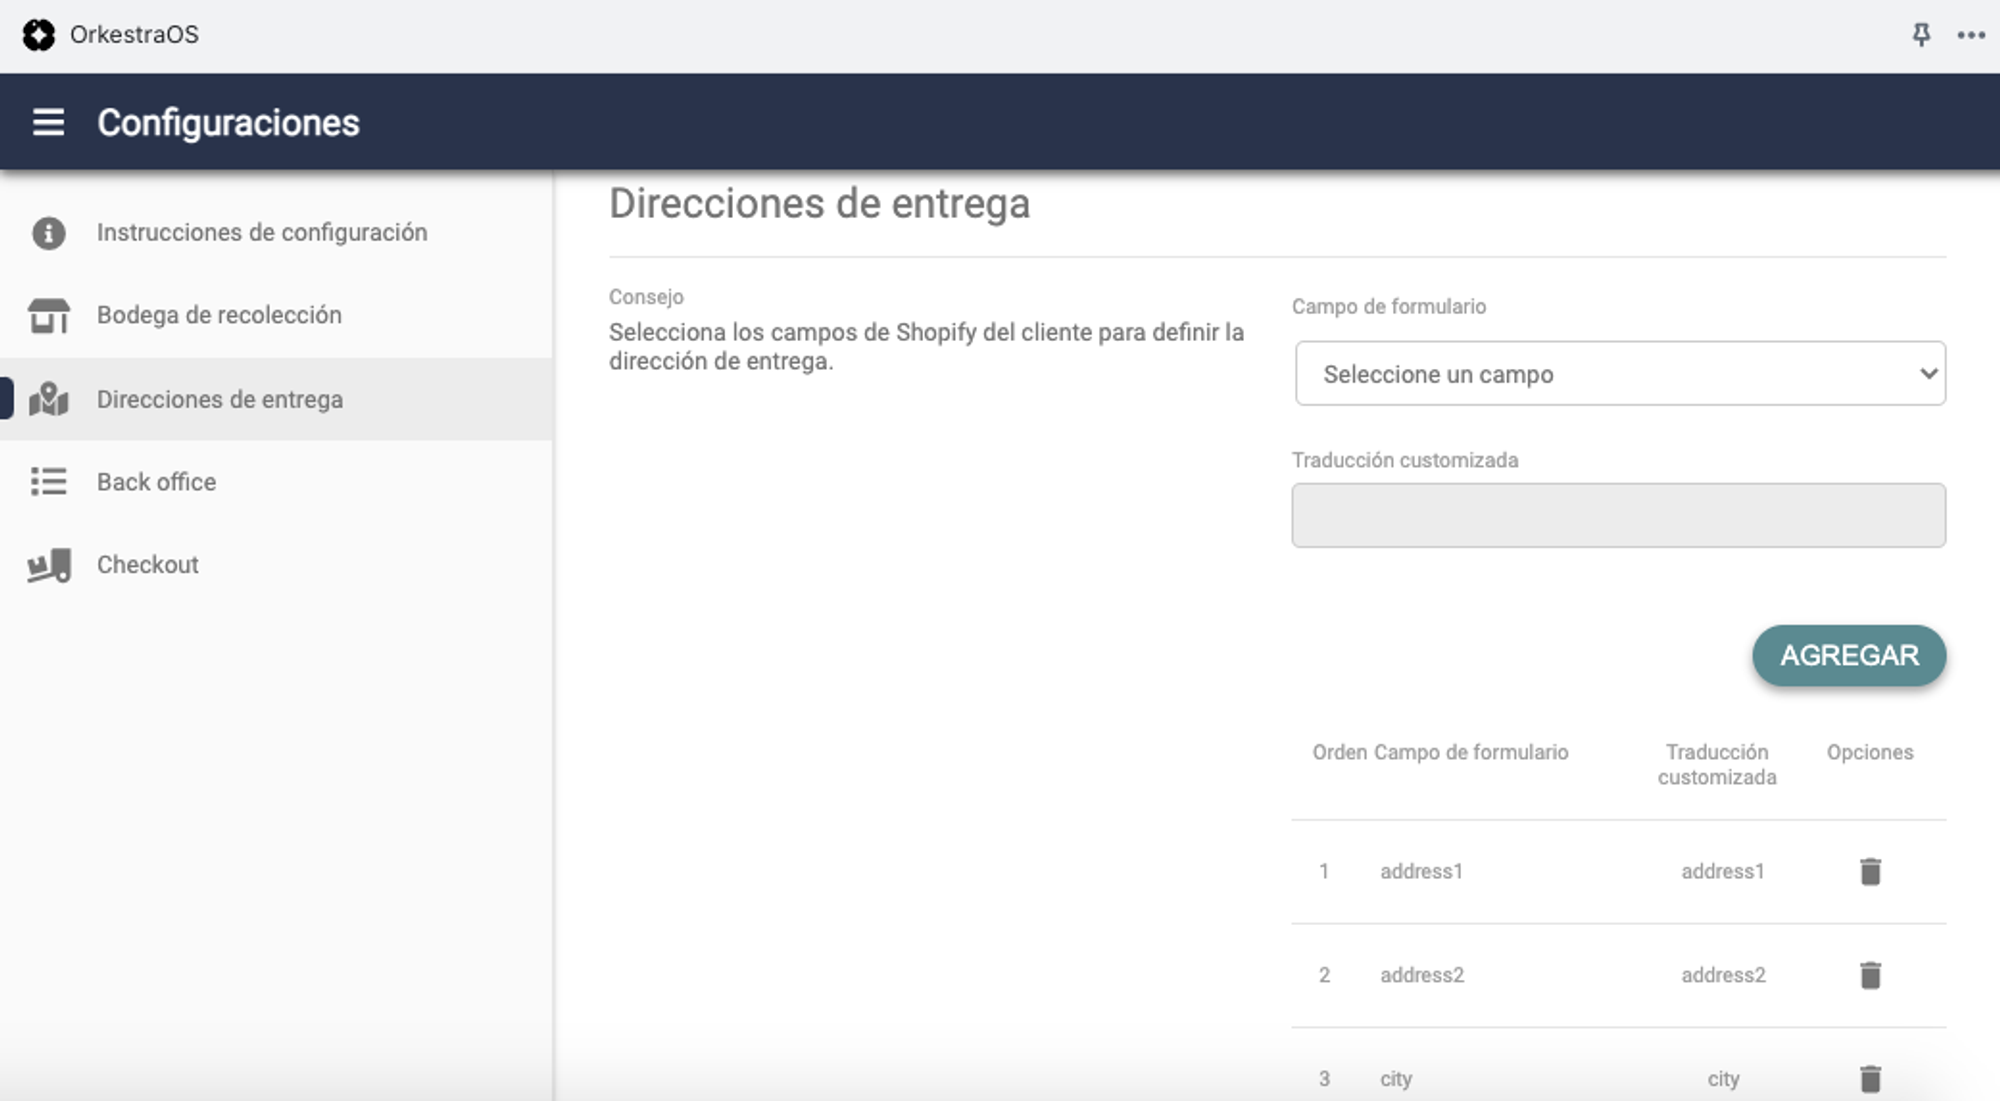
At Shippify, we've thought of the easiest way for you to indicate in our application how you build your complete address, so we can geolocate it.
A 'geolocatable' complete address is an address with which a latitude and longitude can be associated using a geocoding service. The best way is as follows::
= {Main Street and/or Secondary Street} + {Main House or Building Number} + {District or Neighborhood} + {City} + {Country}
For the following example, it would be as follows:
Main Street = "Simón Bolívar Avenue"
Building Number = "5468"
District/Neighborhood = "Providencia"
City = "Santiago"
Country = "Chile"
= Simón Bolívar Avenue, 5468, Providencia, Santiago, Chile.
Note:
Sometimes, additional information in the address such as apartment number, house color, or additional details on how to find the address can prevent our geolocation service from finding the address with latitude and longitude. In these cases, the delivery will be created as Pending to review, and it will be your responsibility to correct it. To prevent this problem, you should add the fields containing this information in the Additional Information (or 'Complement') configuration of the address.
Additional address information configuration
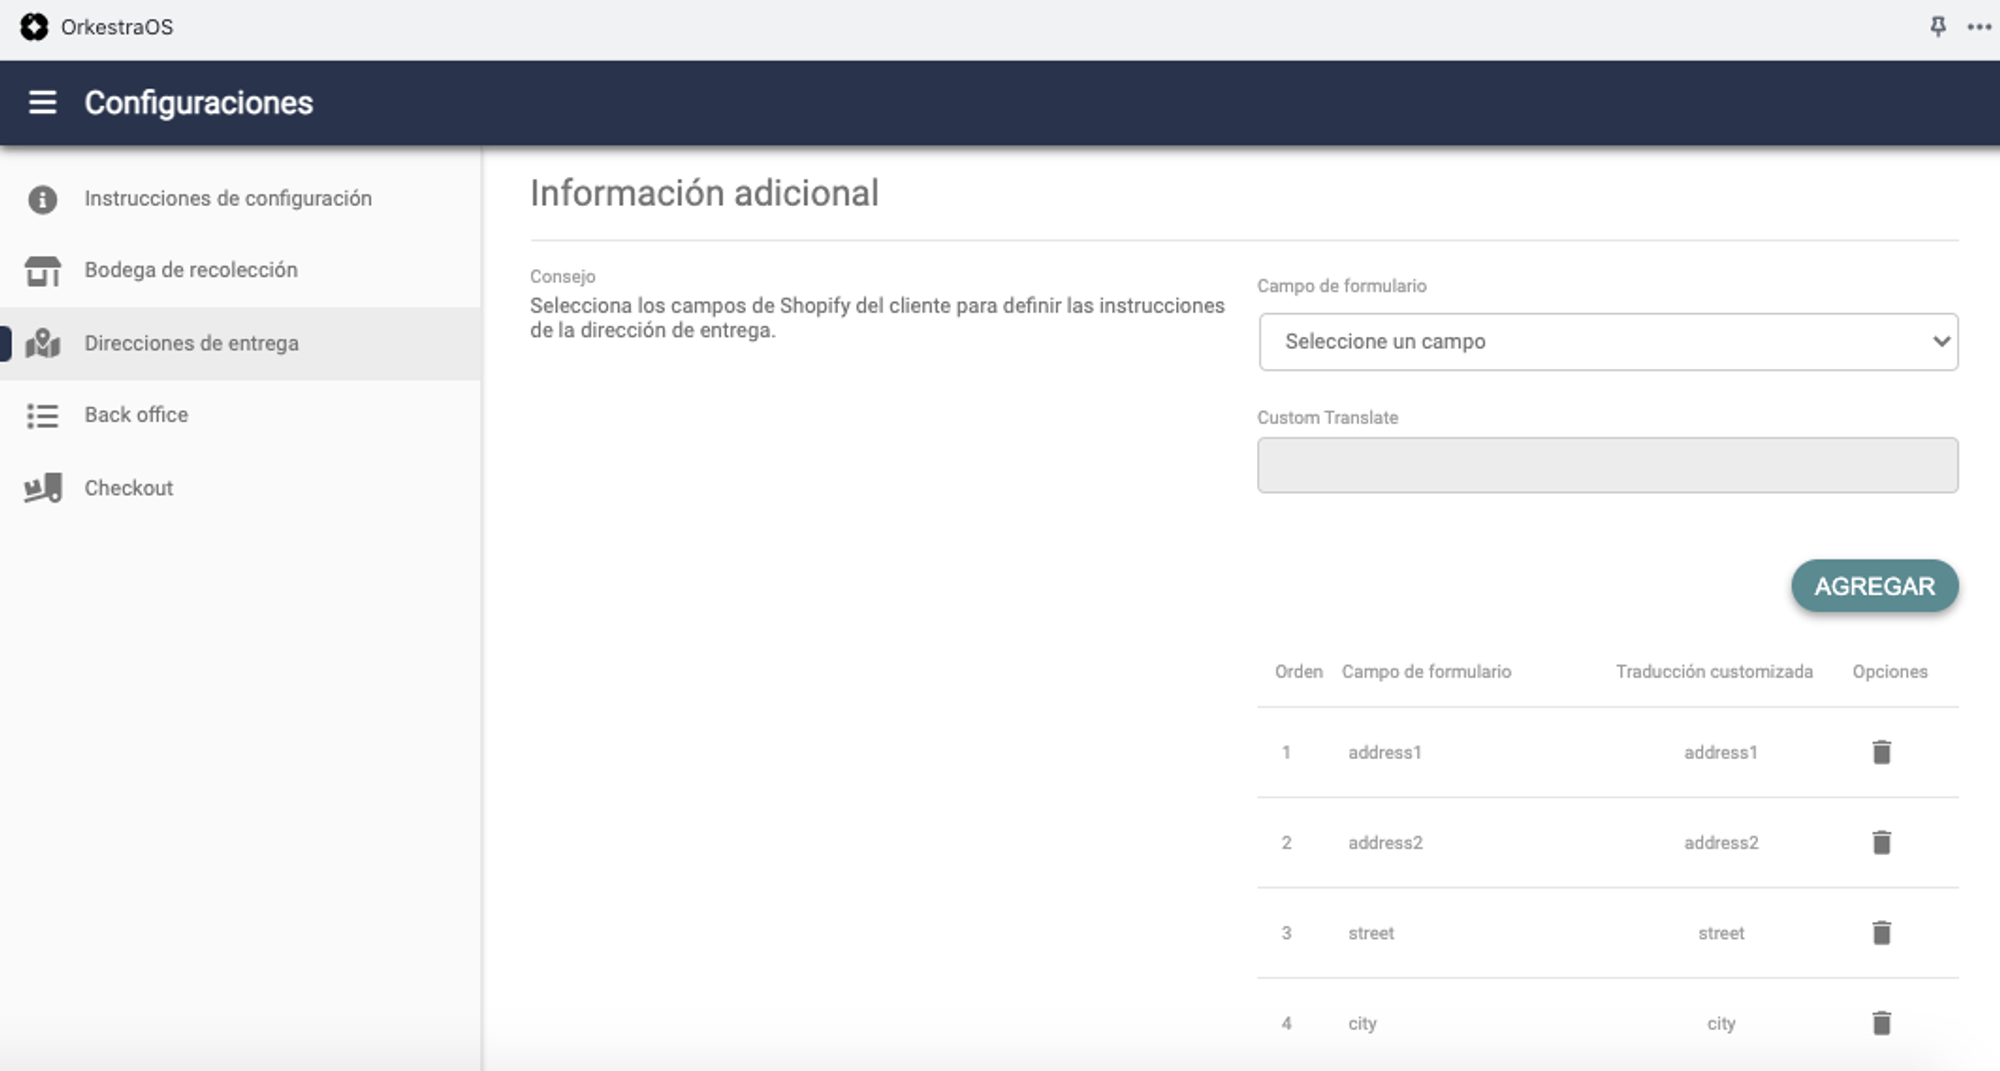
Similar to the address configuration, this field can be used to store additional information about the delivery, such as fields reserved for house numbers within a condominium, apartment numbers, store names, or other indications and references. Basically, this field is used to store information that cannot be included in the 'geolocatable' address, as they are irrelevant for obtaining a latitude and longitude. It is not necessary to include all the fields that were already included in the Address Information from the previous point; it is sufficient to include the Apartment/Unit number and/or additional details. However, we recommend assembling the complete address again for completeness.
= {Main Street and/or Secondary Street} + {Main House or Building Number} + {Apartment Number} + {Additional Details} + {District or Neighborhood} + {City} + {Country}
For the following example, it would be as follows:
Main Street = "Simón Bolívar Avenue"
Building Number = "5468"
Apartment Number = "Apt. 34"
Additional Details = "Red door"
District/Neighborhood = "Providencia"
City = "Santiago"
Country = "Chile"
= Simón Bolívar Avenue, 5468, Apt. 34, Red door, Providencia, Santiago, Chile.
Back office configuration
Within your back office, it's necessary to configure both your inventory and the shipping options you want to display and have available.
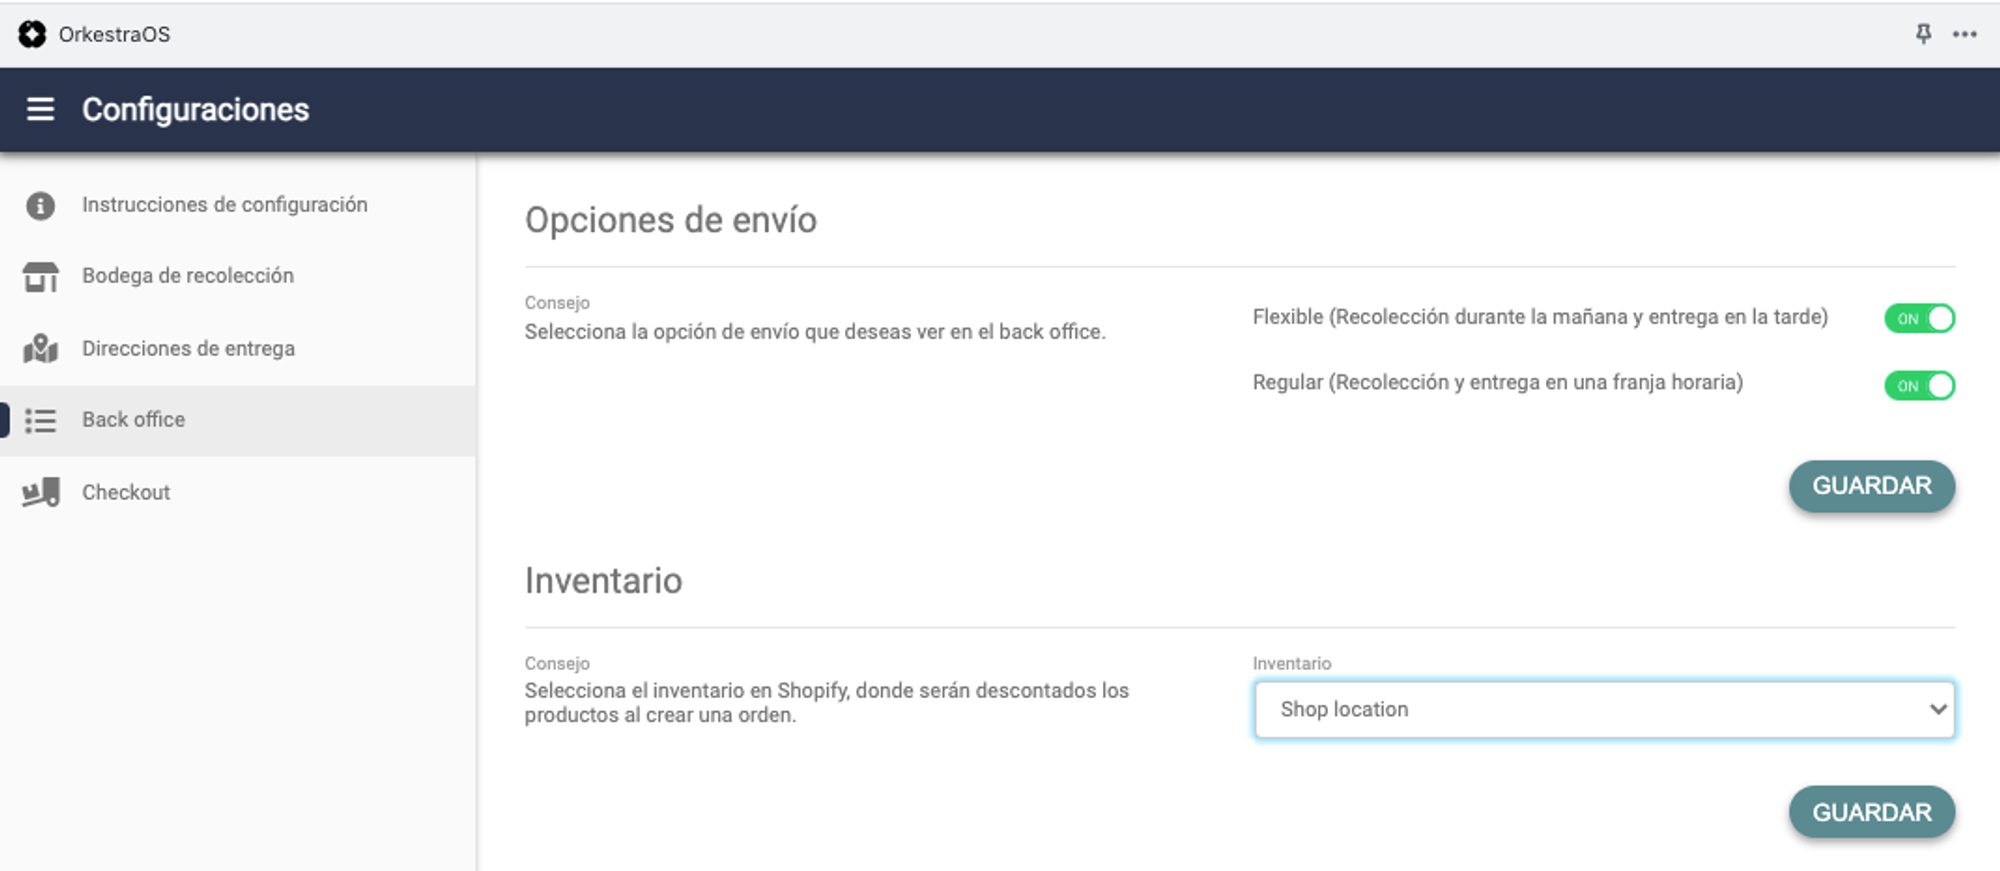
The shipping options you choose will only be visible from your back office (i.e., this configuration does not affect your checkout or what your customer chooses). If you leave both options activated, the system will ask you which one you want to choose when generating a shipment. If you leave only one option activated, the delivery will be automatically created under this option once generated. This will work as long as your customer has not chosen any option directly from the checkout.
The inventory you choose is from which the products will be deducted when the shipment is generated in our system. At the moment, it's only possible to choose one.
Advanced configuration
For more advanced functionality of the OrkestraOS application, you can configure the following:
Checkout configuration
Shipping options configuration (in your checkout)
District configuration
Price configuration
Checkout configuration
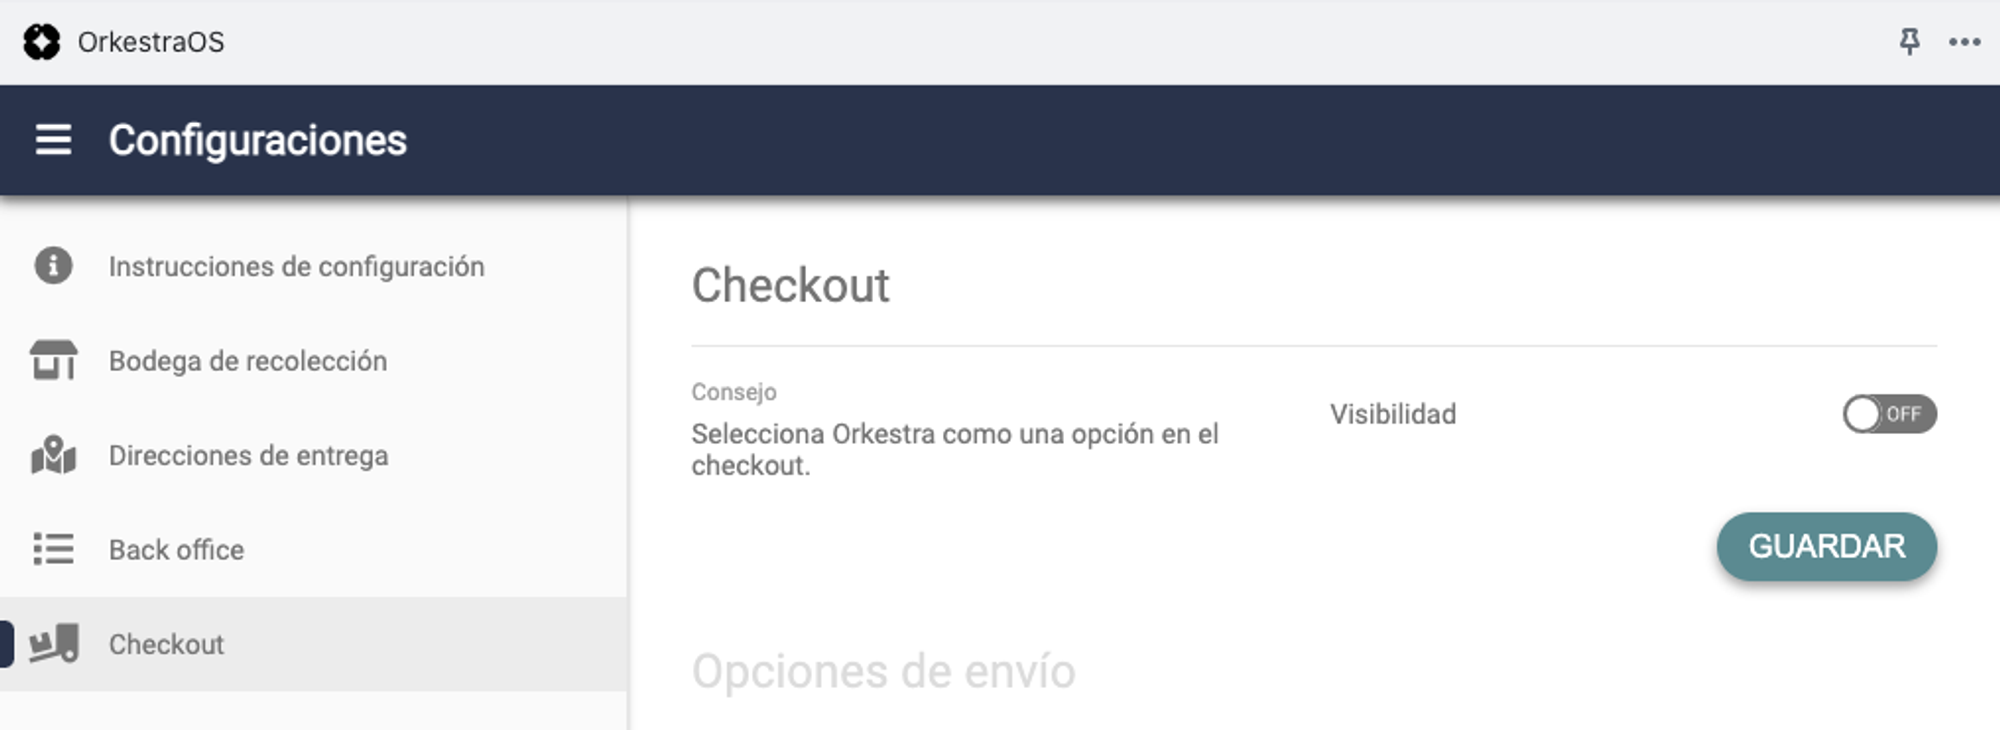
Now you can configure our integration to appear as an option in the checkout of your store. This means that your customer will be able to select us directly from the available shipping options.
Shipping options configuration
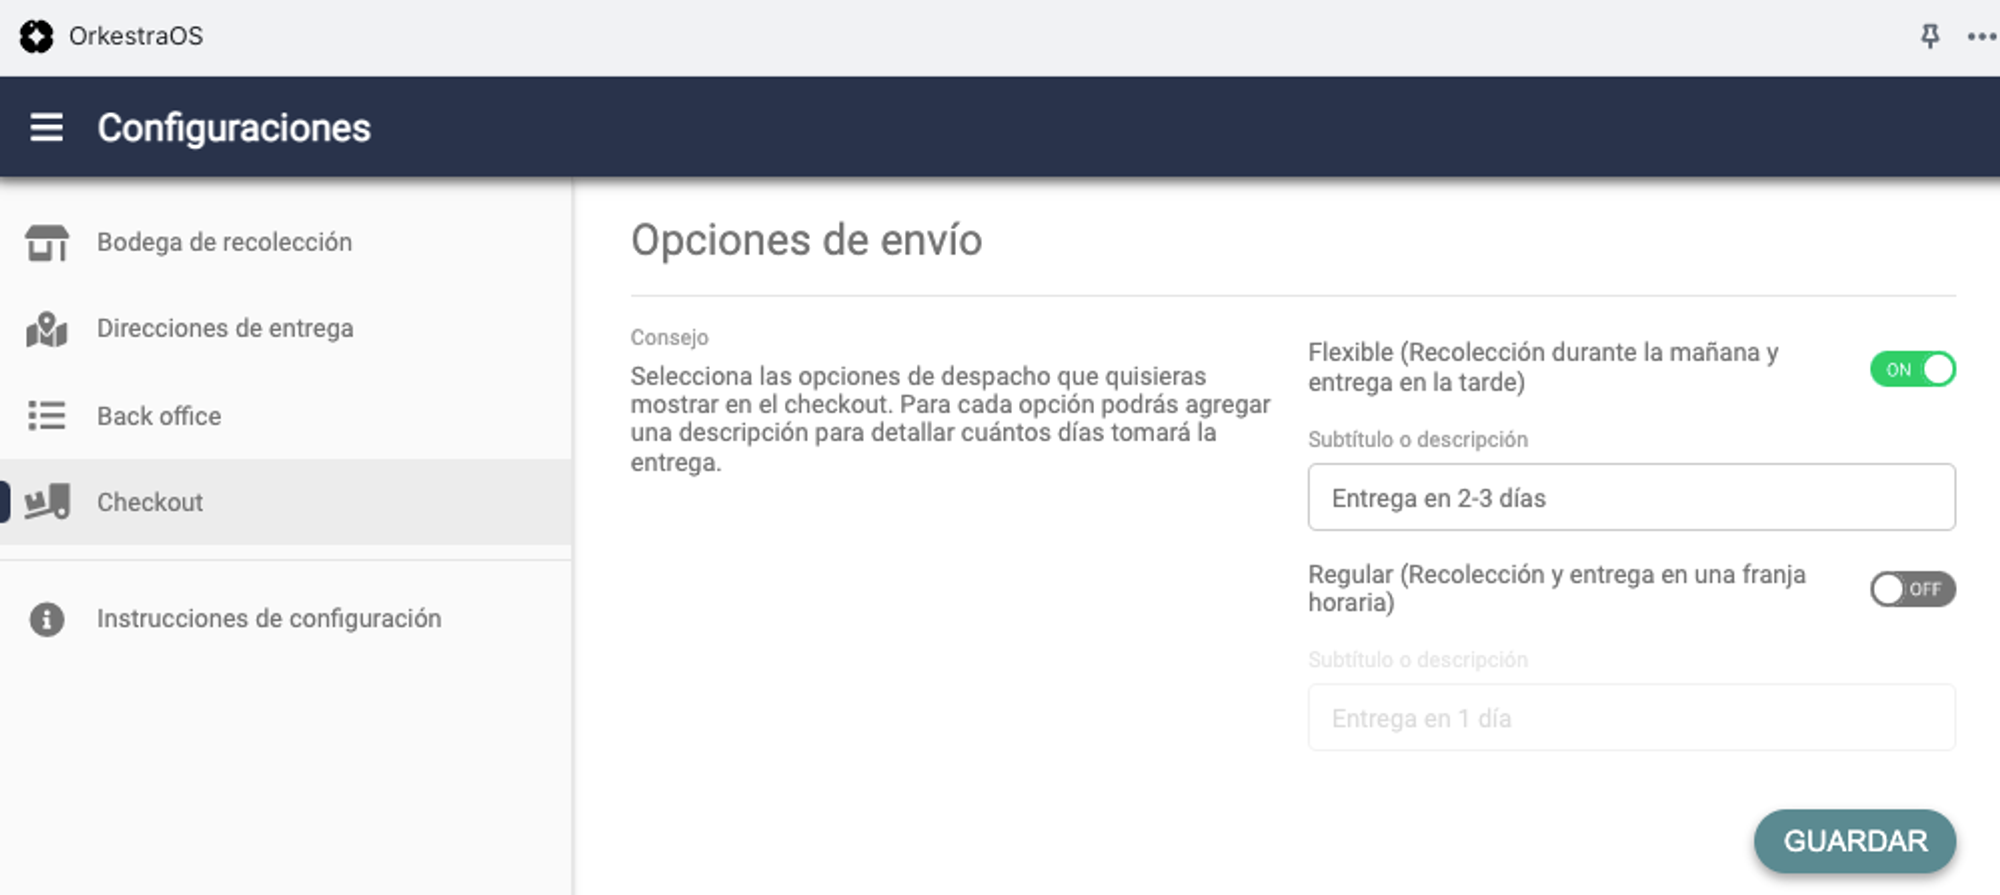
This will allow you to show your customer the shipping options they have with us if you decide to give them that option. You can select both options, in which case the customer will see both available with Shippify, or just one. Additionally, you can add a description if you want to detail, for example, the number of days it will take for delivery or any other condition you want to clarify.
Keep in mind that if you activate any of the shipping options, you won't be able to choose a shipping option from the back office, as your customer will have already chosen one and this selection will take priority.
District Configuration
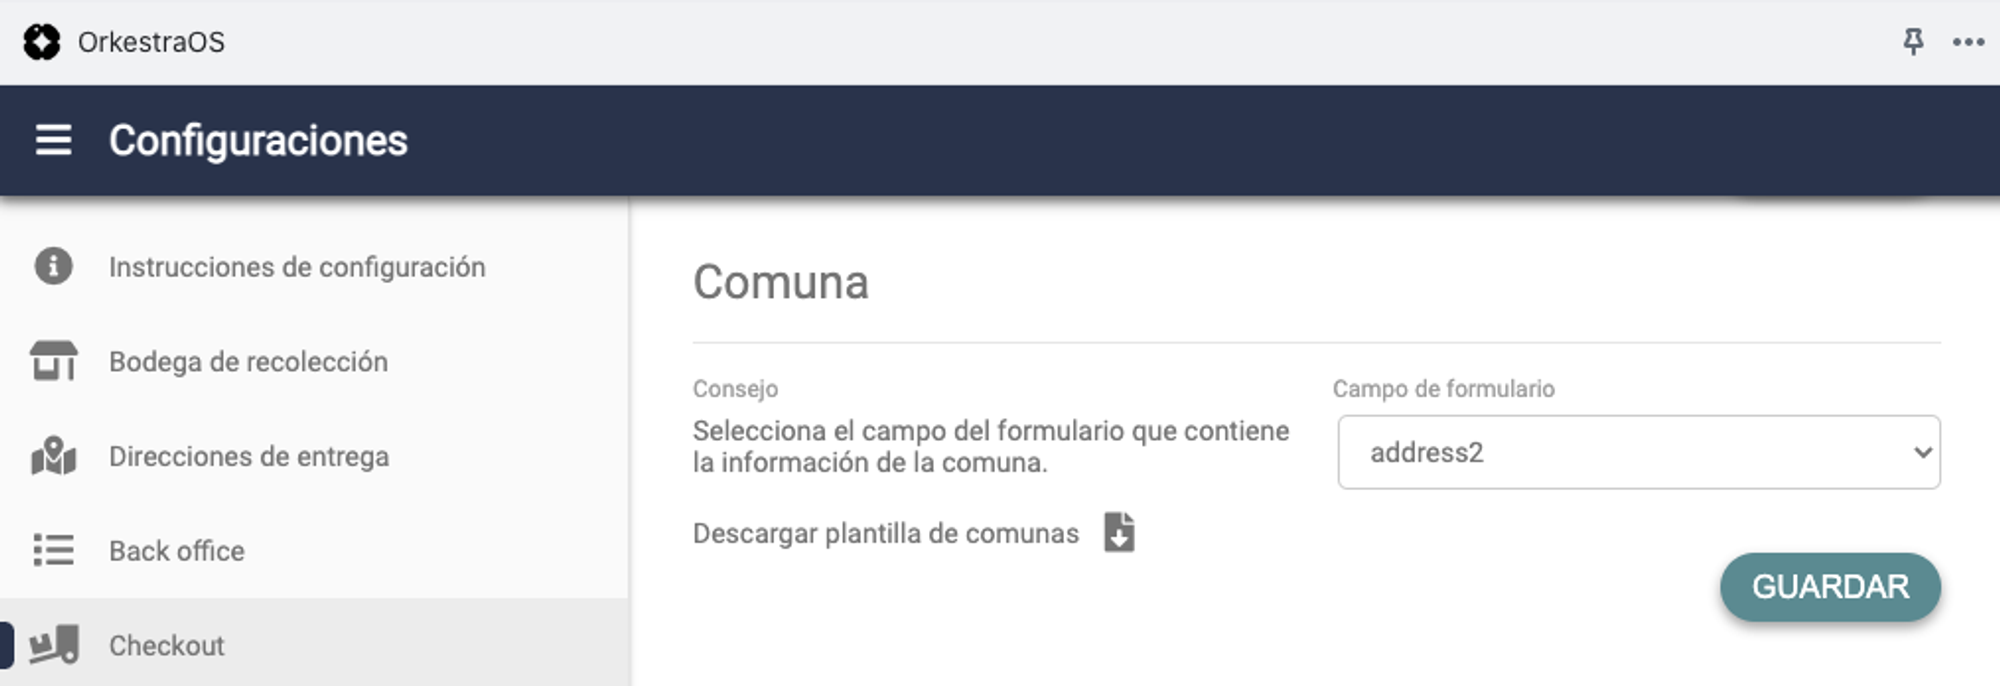
This configuration will ensure that Shippify appears as an option to your customer as long as they enter one of the districts in which we operate in the 'district' field of your checkout. It's important that you clarify with us which districts these are, and select the corresponding field of your checkout in this section.
Pricing configuration
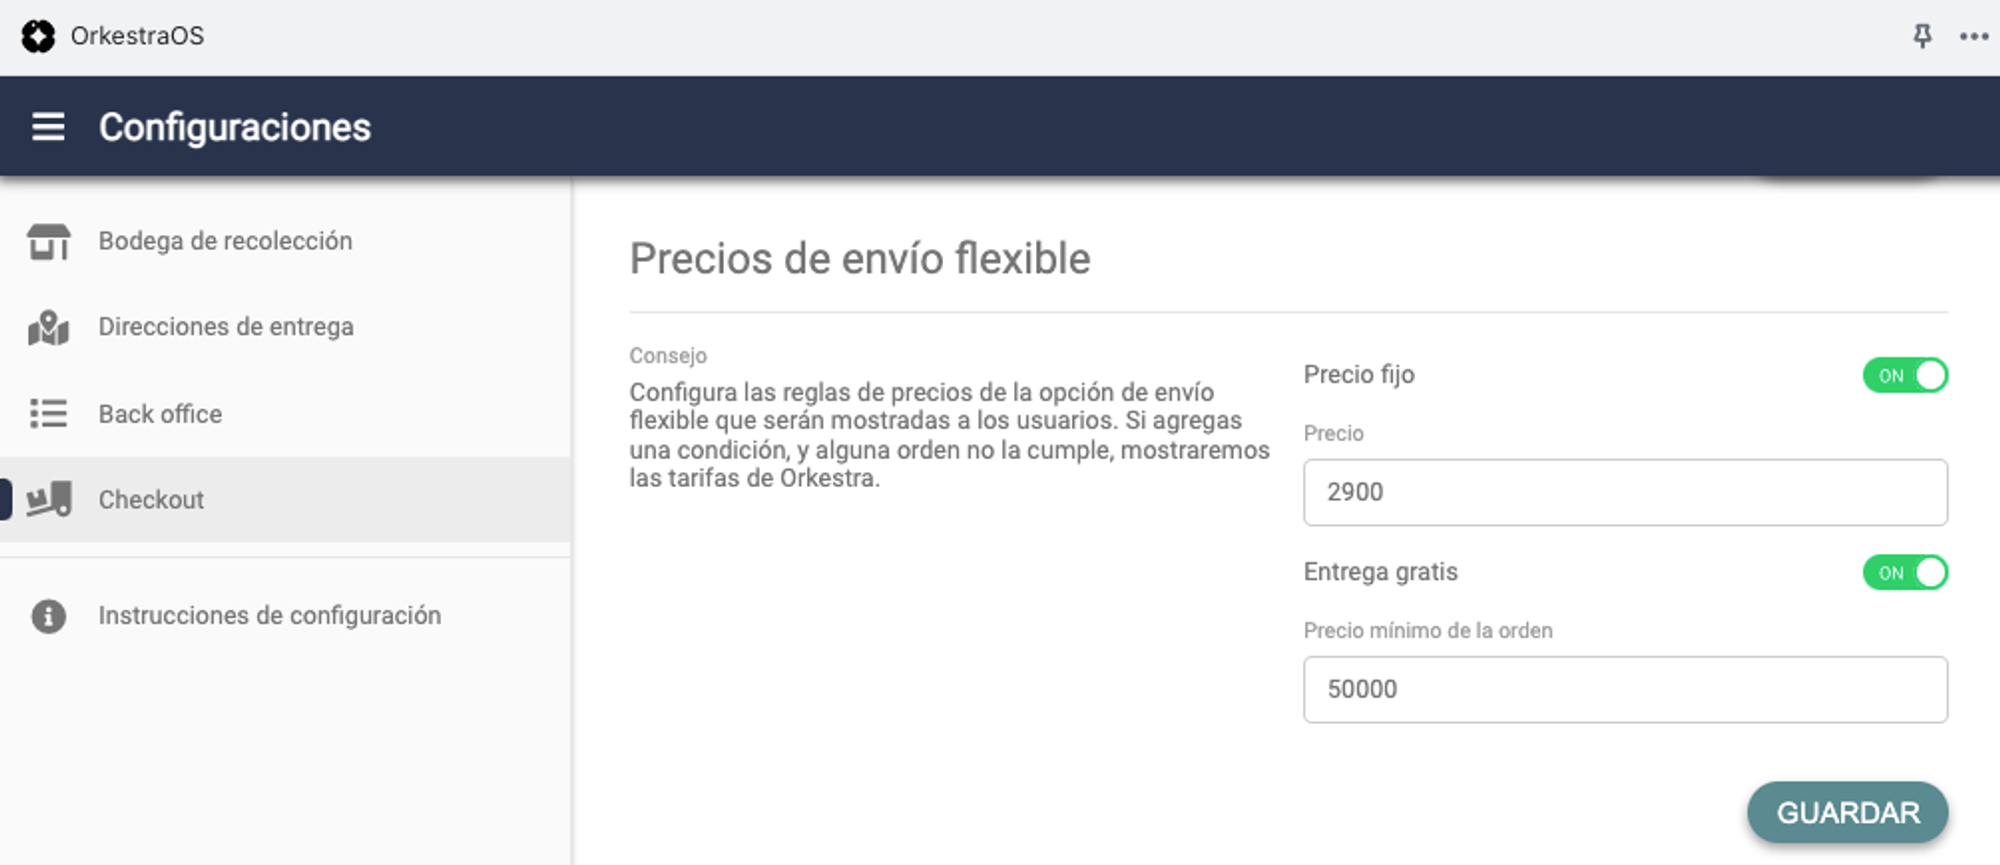
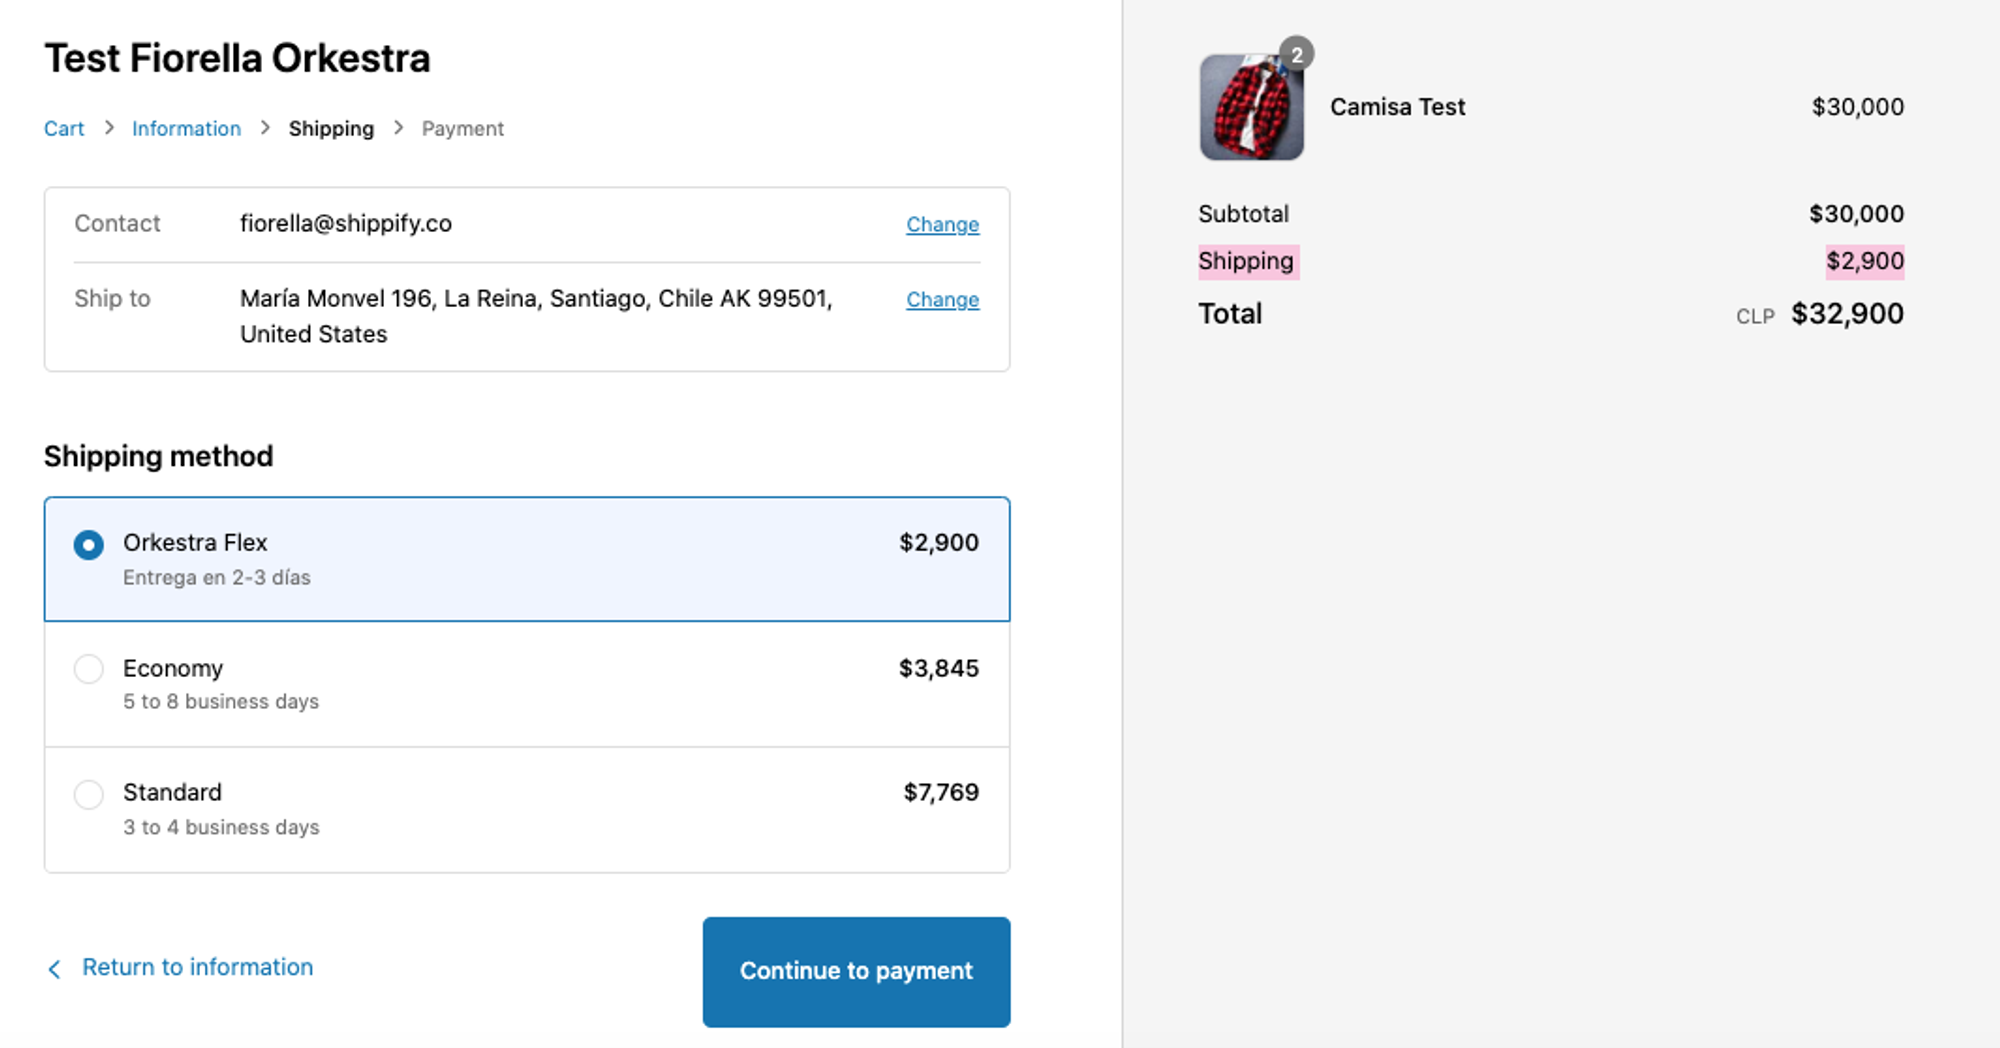
Along with the visibility of the shipping options in your checkout, you can also configure the rate you want to charge your customer. You can leave our default rates, set a fixed rate per shipment, and even offer free shipping when your customer purchases over a certain amount.
You can set these rates in both modalities (Flex and Regular) if you're making both options available in your checkout, or only in one. If you turn everything off, the system will show your customer our default rate, either the one calculated by our system or the one you have agreed upon with us through a contract.
Última actualización