Steps to integrate
In this section, we will guide you step by step to integrate with your store on Beetrack.
 Creating an account in Shippify
 Creating an account in Shippify
If you already have a registered account, you can proceed to the next step.
Creating an account on our platform is free of charge; you can access this link fill in your company's information, and you're all set.
Once you've done that, you'll receive an email with more information (If not, please contact us through the chat on our website).
All Shippify accounts are created with Prepaid mode, meaning that to create your deliveries, you'll need to purchase credits in the Billing section (payment with a credit card or transfer). If you need commercial support, you can write through our website.

 Creating a warehouse
 Creating a warehouse
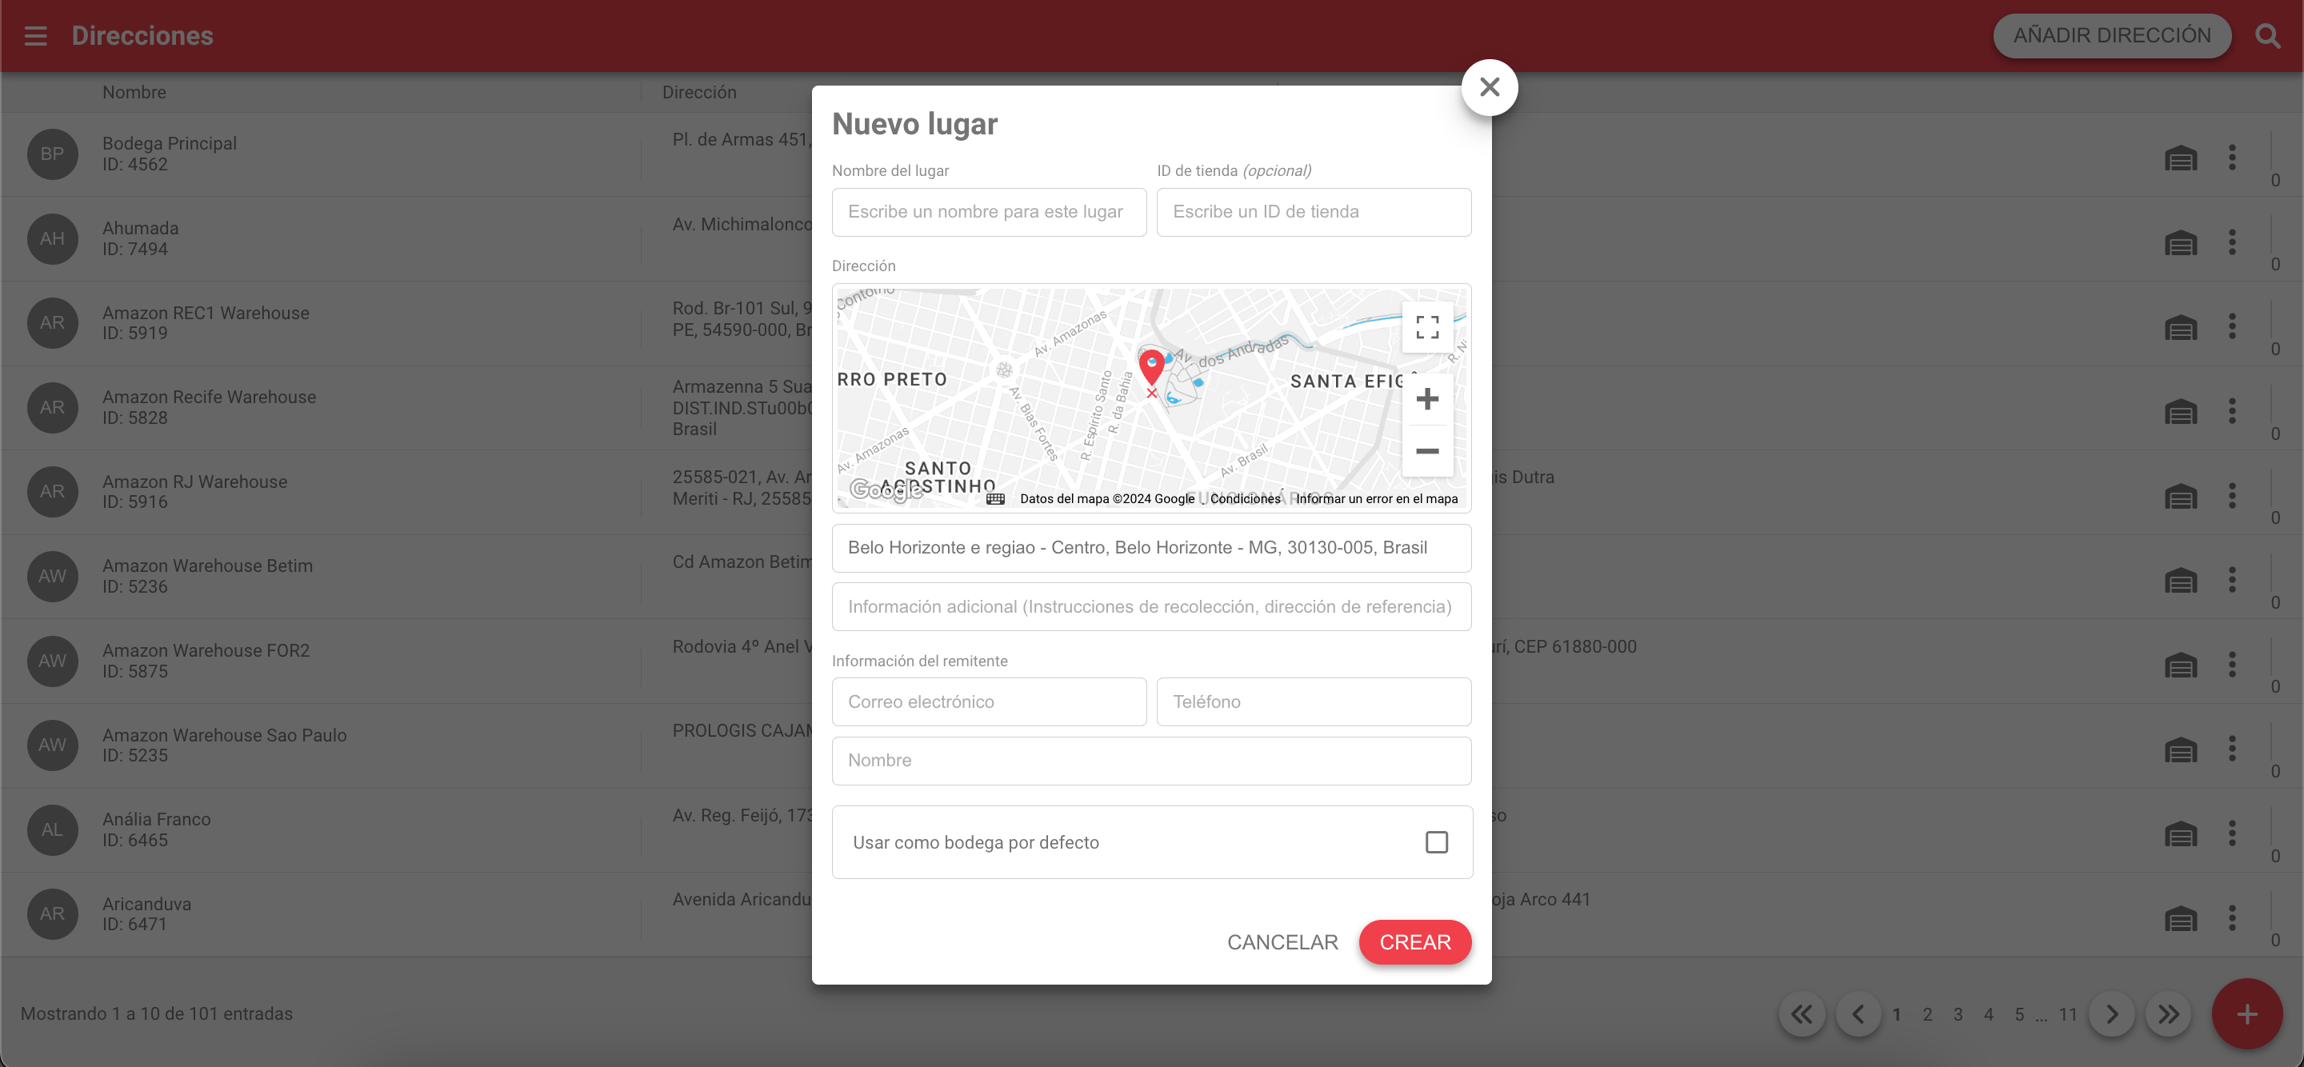
The deliveries created in the system will always have a warehouse as the pickup point, which you will need to create by accessing this link.
You will need to fill in all the requested information and save the identifier to use it in the next step.

 Configuring you account in Beetrack
 Configuring you account in Beetrack
For creating deliveries in our system, you'll need to configure a list of drivers. Only orders assigned to these drivers will be created in our system.
The name and quantity of drivers are up to you, but it's important to communicate this in the next step. The name should have the following format: Name+Counter. For example, if you want to configure 3 drivers with the name "SHIPPIFY", then their names should be SHIPPIFY1, SHIPPIFY2, SHIPPIFY3.
By default, we will search for up to 10 drivers with the name "SHIPPIFY".
 Choose the states you want to update
 Choose the states you want to update
In Shippify, we have a wide variety of states within the delivery lifecycle, and it's necessary to find their equivalent in Beetrack so that when the delivery state changes in Shippify, it can also change within Beetrack. Additionally, you can decide if you want delivery receipts to be attached as photos. This is commonly done in the final state of completion.
Example:
Completed
Delivered - id 123
Delivered to a third person - id 1234
Hold by courier
Not delivered - id 343
Recipient is not home - id 3846
Returned
Not delivered - id 343
Damaged package - id 3454
To know our available states and their meanings, access this link. If you don't know the IDs of the sub-states in Beetrack, you can check in their API.
 Sending your request
 Sending your request
If you have decided on this type of integration, please send us an email to integracion.shippify.co filling in the requested information.
Mandatory fields:
Company email in Shippify: It's the email address you used to create your account in step 1.
Beetrack Authentication Token: It's the permission we require to access orders within your Beetrack account. You can find it in your account by going to Settings -> Advanced Settings.
Warehouse Identifier: Identifier of the warehouse you created in step 3; all your orders will start from this point.
States: Here, you should attach the table of Beetrack states and sub-states that you want Shippify to update (step 4).
Mandatory fields:
Driver's name: Prefix of the driver in Beetrack to whom you will assign the orders that you want to be created in Shippify. By default, it's "SHIPPIFY".
Number of drivers: Number of drivers you configured within Beetrack. By default, it's 10.
Examples
 Activating the integration
 Activating the integration
Once the request is sent, you should wait for the support team to send the confirmation of activation of the integration. From that moment on, you'll be able to see the deliveries being created in your Shippify account.
Última actualización