Create a Shippify account
In this section, you will learn how to create the necessary accounts to start working with us.
At Shippify, we provide two environments, one for production and another for testing. These consist of two different accounts, both pointing to the same server but with different credentials.
Prod account
Creating an account on our platform is free of charge. You can go to this link and fill in your company's information, and you're all set.
Once you've done that, you'll receive an email with more information (If not, please contact us through the chat on our website).
All Shippify accounts are created with a prepaid model, meaning you need to purchase credits in the Billing section to create your deliveries (payment with credit card or transfer). If you need commercial support, you can write to us through our website.

QA accounts
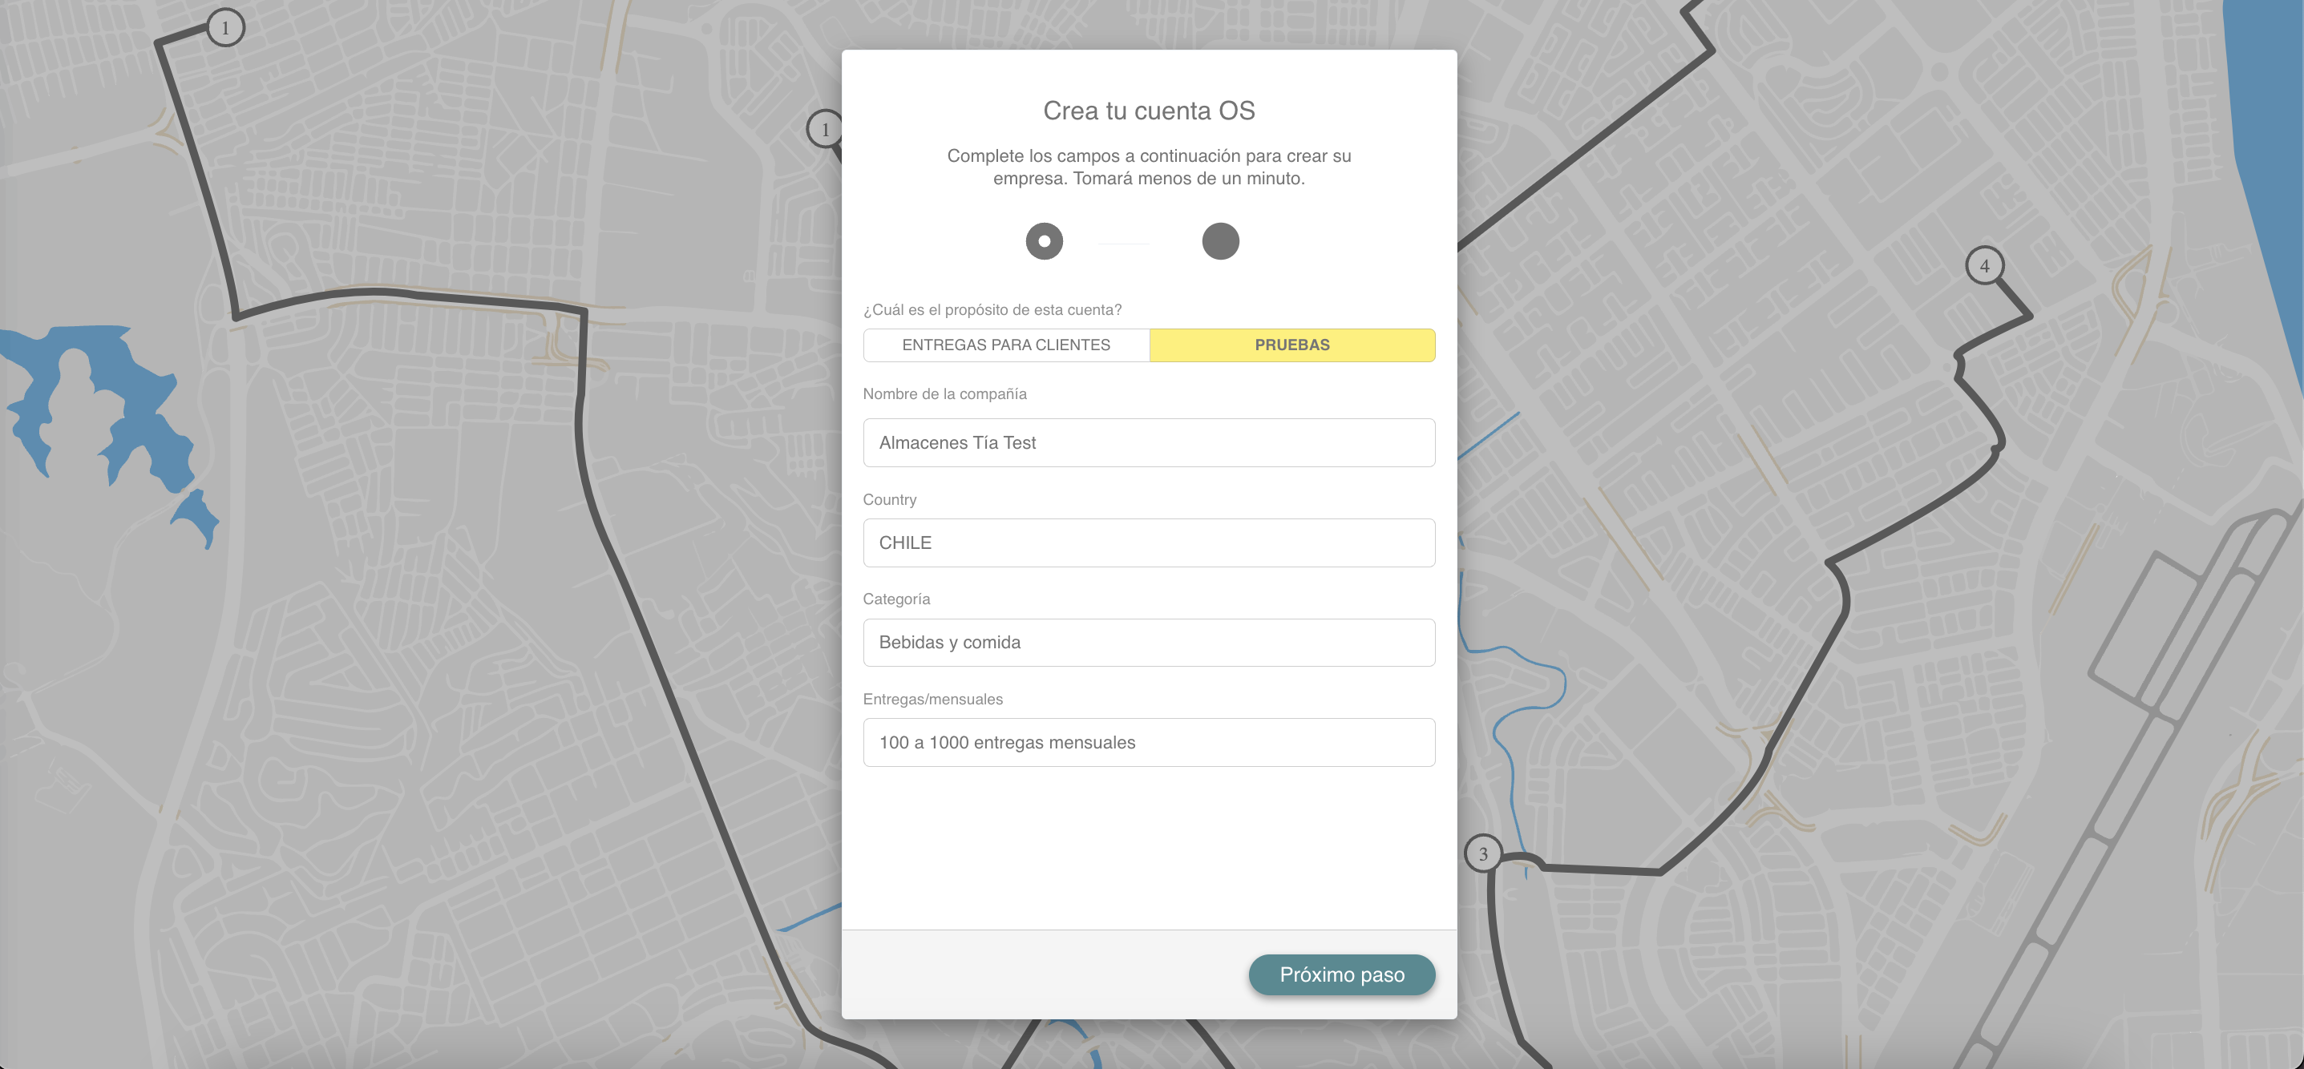
This type of account is used for integration testing in a controlled environment. Create an account by registering in SAAS mode at the following link. For the account name, use the format "Company Name" + "Test". This type of account registration offers the options to change the states of the tasks within the Dash platform.
When registering the account, it is not necessary to enter a credit card. After registering the account, send us the name of the account you entered and the associated email. With this, we can activate the account for 90 days. If more days are needed for development, we can extend this period.
When entering the email address, keep in mind that this email can only be used for one account in the Dash. It's a one-to-one relationship of a user email to a Shippify account. It's suggested to use a test email in case it needs to be a user of the productive account in the future.

Última actualización