Steps to integrate
In this section, we will guide you step by step to integrate with your store on MELI.
 Create a delivery in Shippify
 Create a delivery in Shippify
If you already have a registered account, you can proceed to the next step.
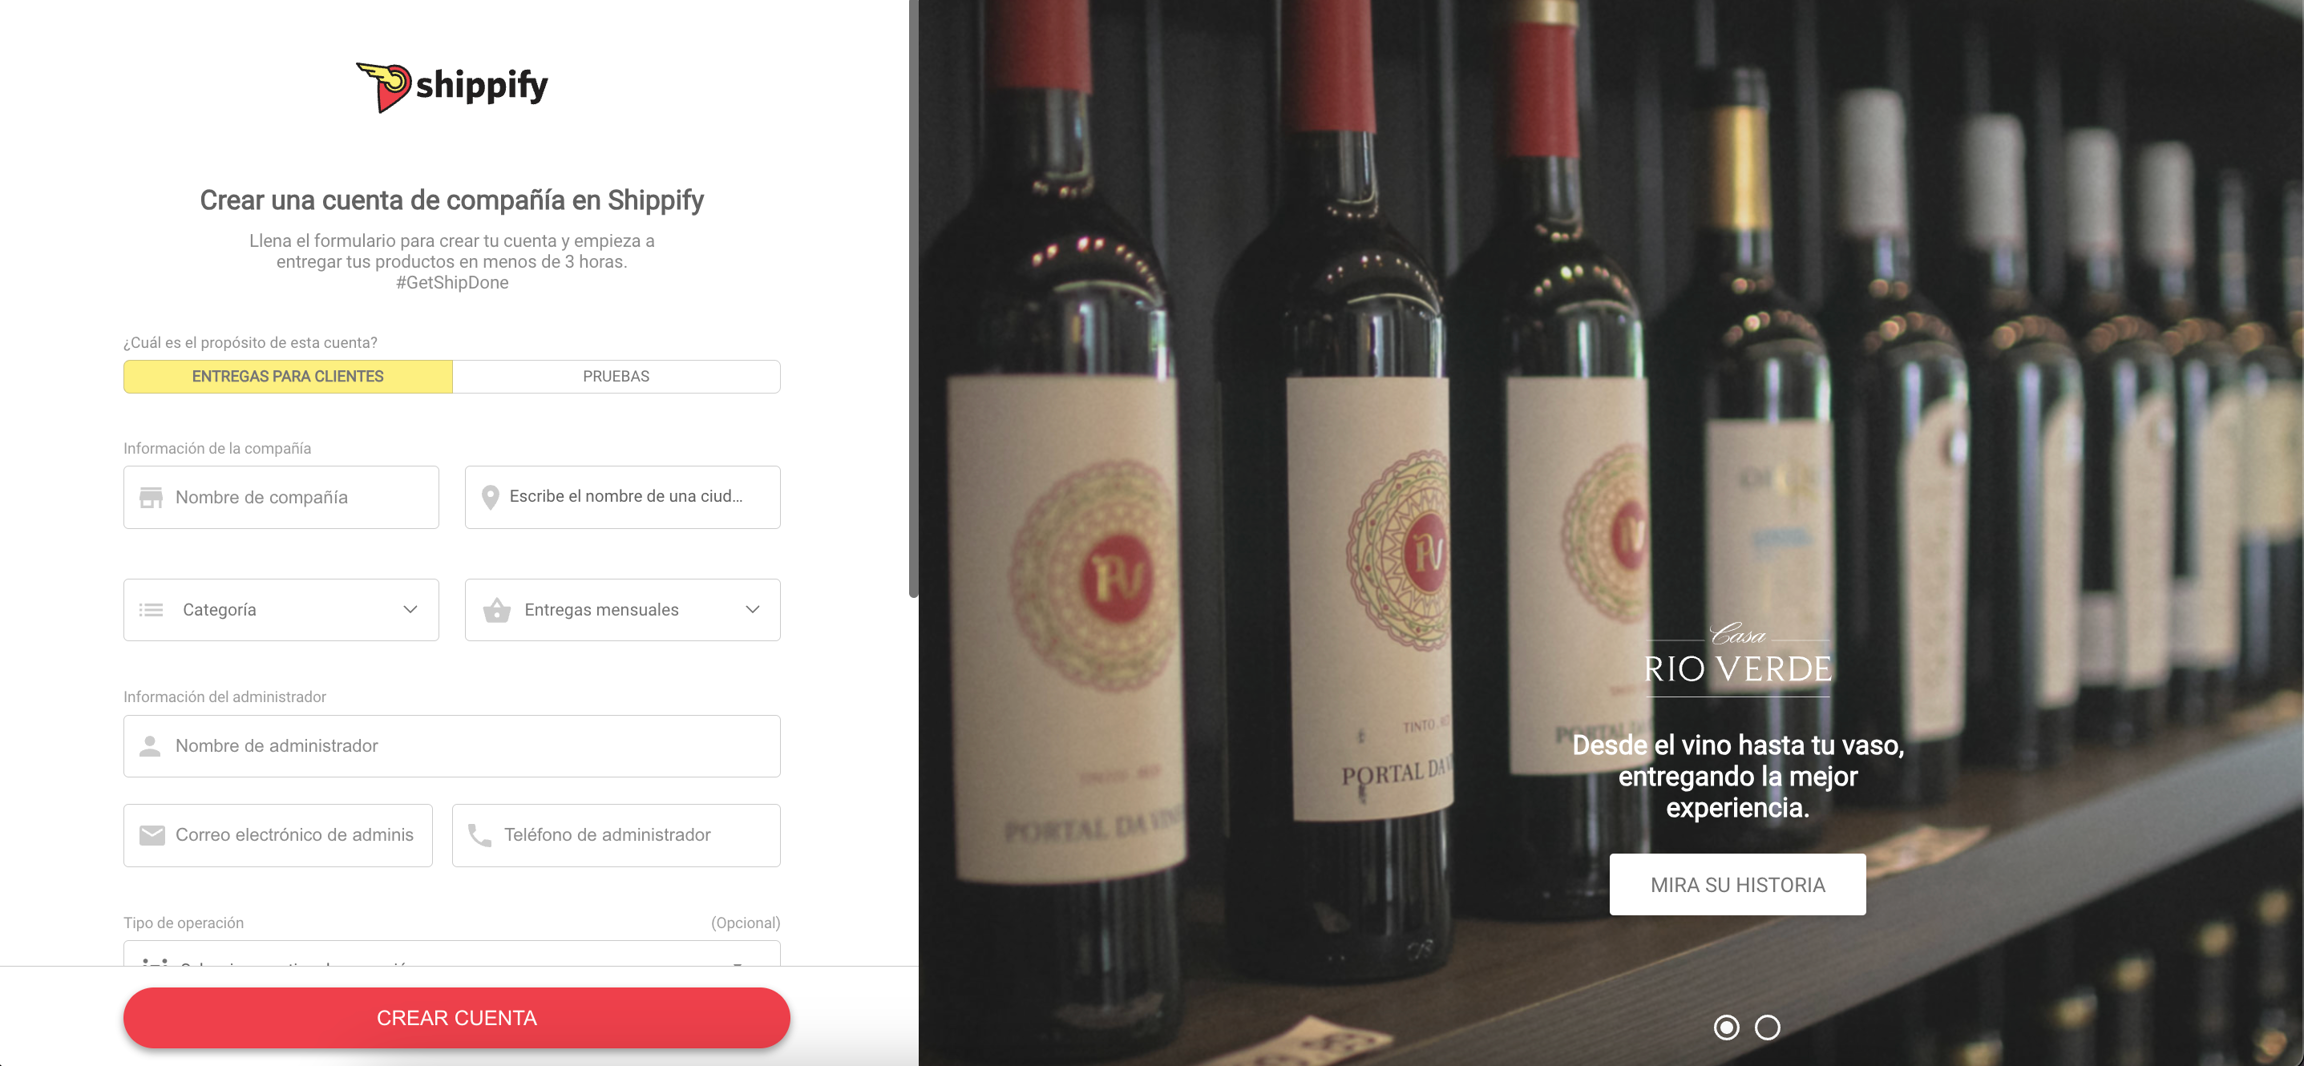
Creating an account on our platform is free of charge. You can go to this link and fill out your company's information, and you're all set.
Once you've done that, you'll receive an email with further instructions. (If not, please contact us through the chat on our website).
All Shippify accounts are created with a prepaid mode, meaning you need to purchase credits in the Billing section to create your deliveries (payment via credit card or transfer). If you need commercial support, you can write to us through our website.

 Warehouse creation
 Warehouse creation
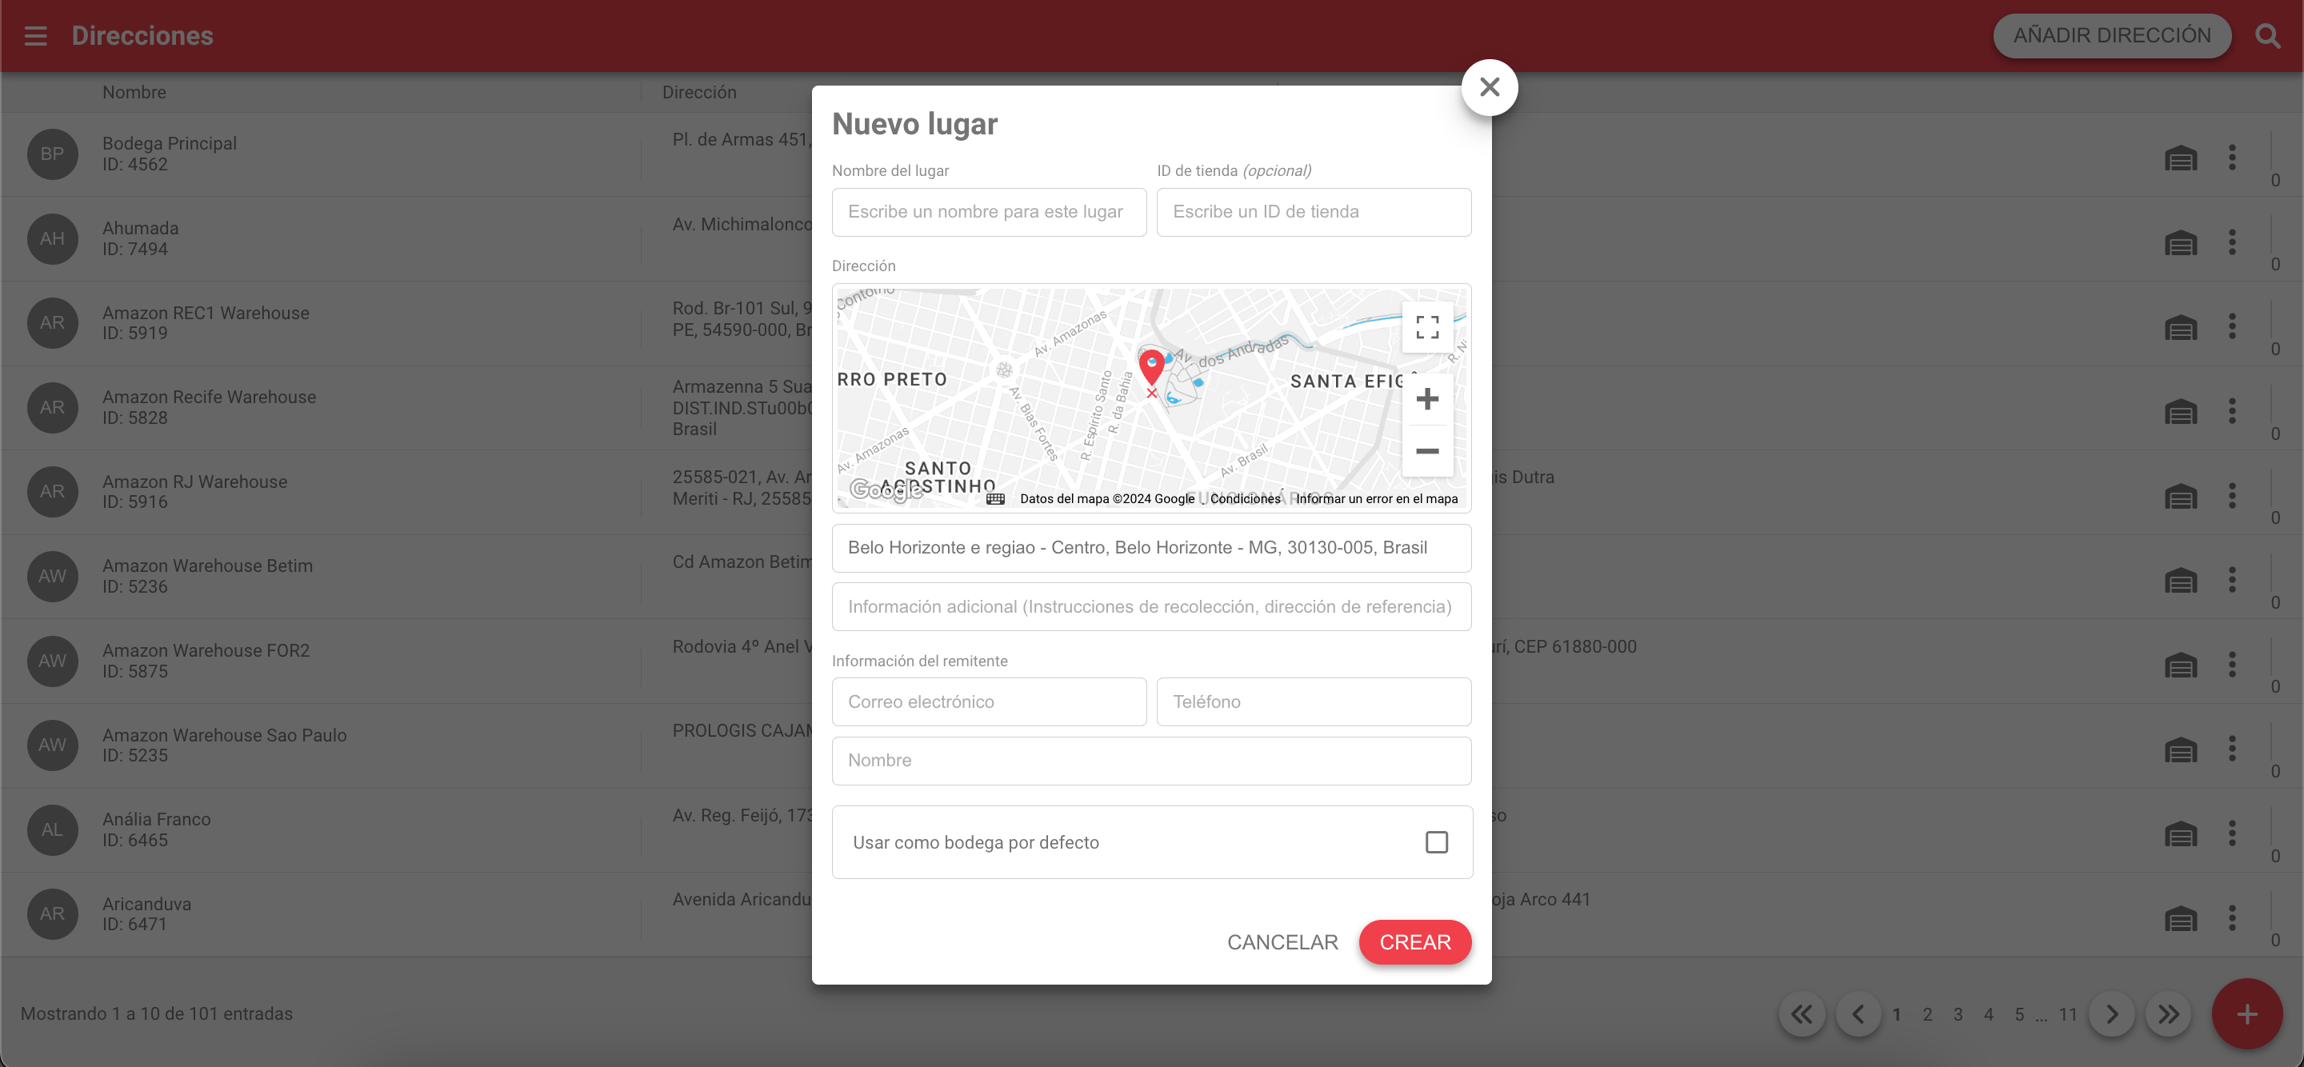
The deliveries created in the system will always have a warehouse as the collection point, which you must create by accessing this link and creating a new one.
You should fill in all the requested data and save the identifier to use it in the next step.

 Sending us your request
 Sending us your request
If you have decided on this type of integration, please send us an email at integracion.shippify.co informing the mandatory informations:
Required fields:
Company email in Shippify: This is the email address you used to create your account in step 1.
MELI User Identifier: The code that identifies your user within the Mercado Livre system.
MELI Shipping Version: Active version in your account, can be M1 or M2.
Warehouse: Identifier of the warehouse created in step 2.
Optional fields
Delivery type: In this field, you can request whether deliveries created in Shippify should be flex, regular o express. If not sent, it will be configured as regular.
Reference type: In this field, you can request whether deliveries created in Shippify should have theMELI Order Id or the Order tracking Idas the reference. If not sent, it will be configured with theOrder ID in MELI.
Filters: In this field, you can request whether deliveries created in Shippify should only include those belonging to a specific logisticTypeLast or serviceId. If not sent, it will be configured to create all MELI deliveries in Shippify.
Tags per city: In this field, you can request whether deliveries created in Shippify should have a digital tag with the name of the destination city or commune. If not sent, the tags will not be created
Examples
 Installing
 Installing
Once we respond to your email indicating that we have set up your account, you can proceed to install the application on your MELI account. Access this link and fill in the requested data and authorize the app to perform actions on your account.

 Activating
 Activating
After the installation, reply in the email thread confirming that the installation is ready. This way, we will proceed to check if it was installed correctly and activate it for you to start operating. We will send you a confirmation in the thread so that you can already see on the dashboard how the tasks are being created.
Última actualización